If your kitchen feels dated but a full renovation isn’t in the budget, you are not stuck. There are dozens of ideas for updating a kitchen without replacing cabinets, and most of them cost far less than a single new cabinet box. I have worked on kitchen refreshes for years, testing which swaps actually change the feel of a room and which ones look good in photos but fall apart after six months of daily cooking.
Below are 50 tested ideas covering hardware, paint, lighting, storage, and small layout tweaks, organized so you can pick a few or work through the whole list room by room.
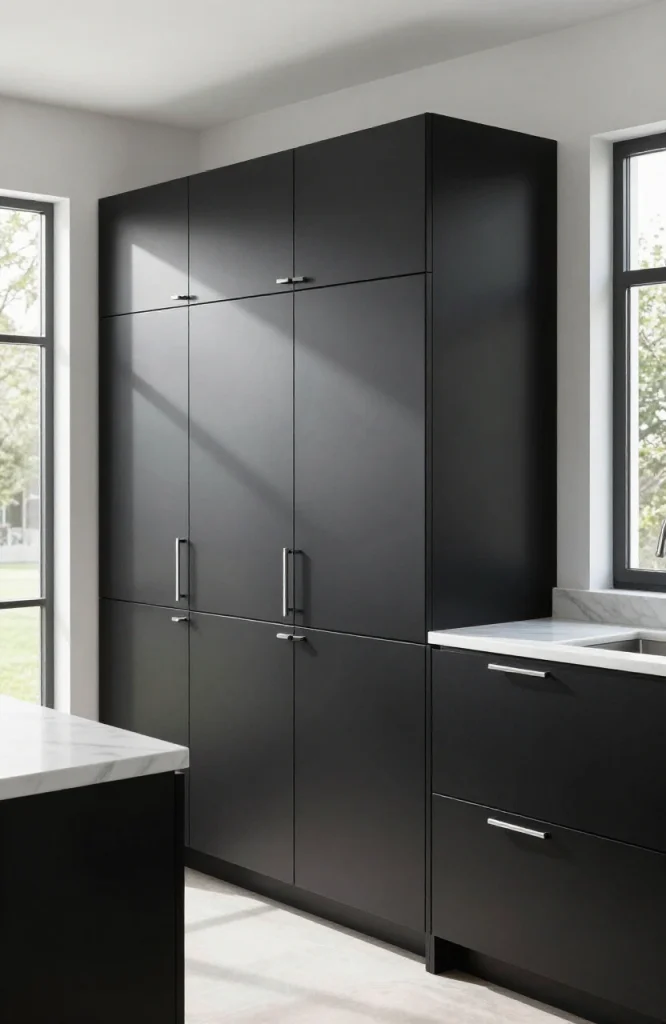
1. Swap the Cabinet Hardware

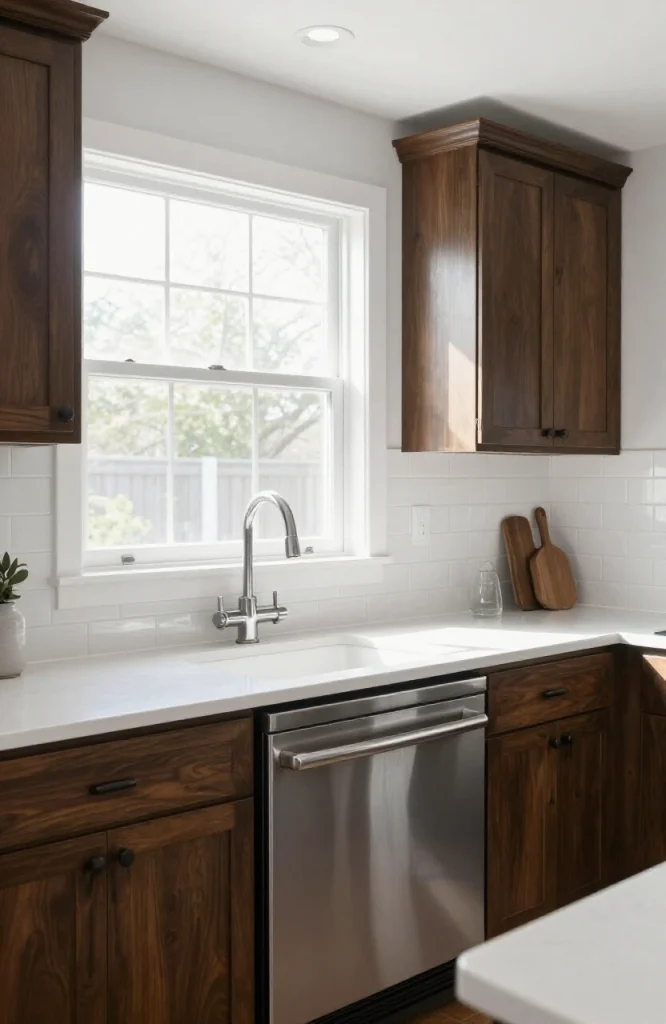
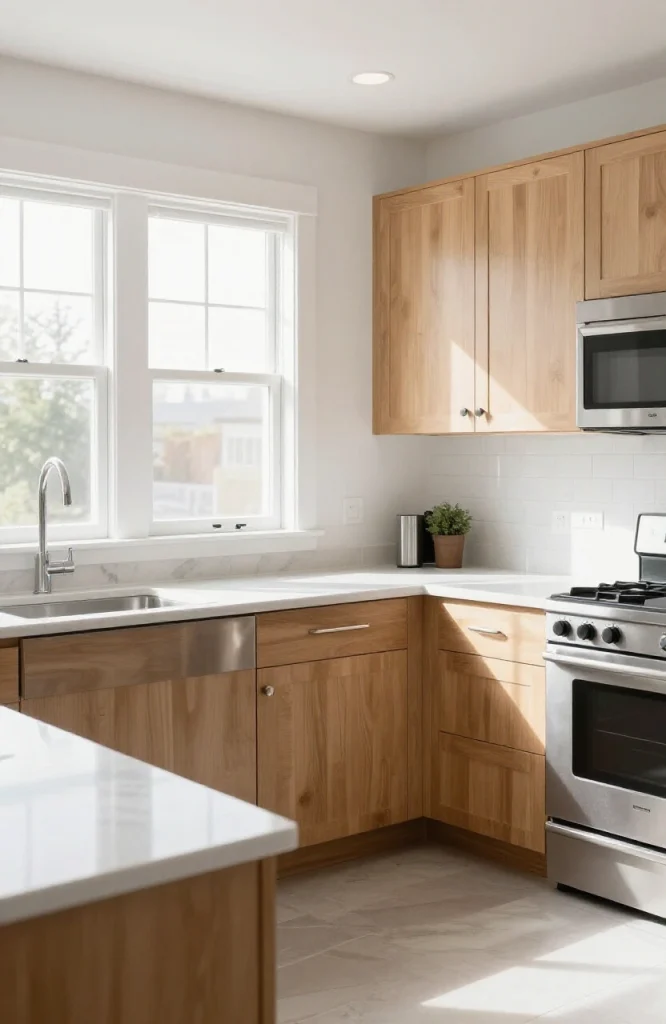
New knobs and pulls are the fastest way to change how a kitchen reads. A dated brass knob from the 1990s makes an entire cabinet line look old, even if the wood underneath is in great shape. Matte black, brushed nickel, and unlacquered brass are the current go-to finishes, and most pulls use the same screw spacing as what you already have. Measure your existing holes before you shop so you do not end up drilling new ones.
2. Paint the Cabinet Doors Instead of the Boxes
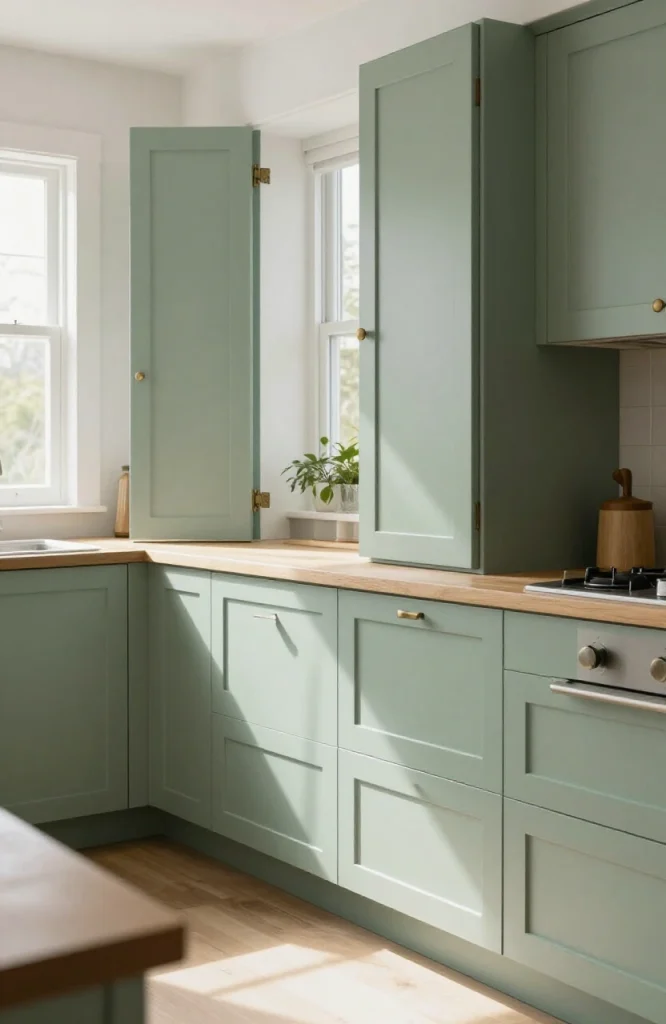
You do not have to repaint an entire kitchen to get the benefit of a fresh color. Removing just the doors and drawer fronts, painting them, and reattaching them gives the room a new look while the cabinet boxes stay exactly as they are. This cuts the project time roughly in half and uses far less paint. A cabinet-grade enamel holds up better to grease and water than standard wall paint.
3. Try a Two-Tone Cabinet Look
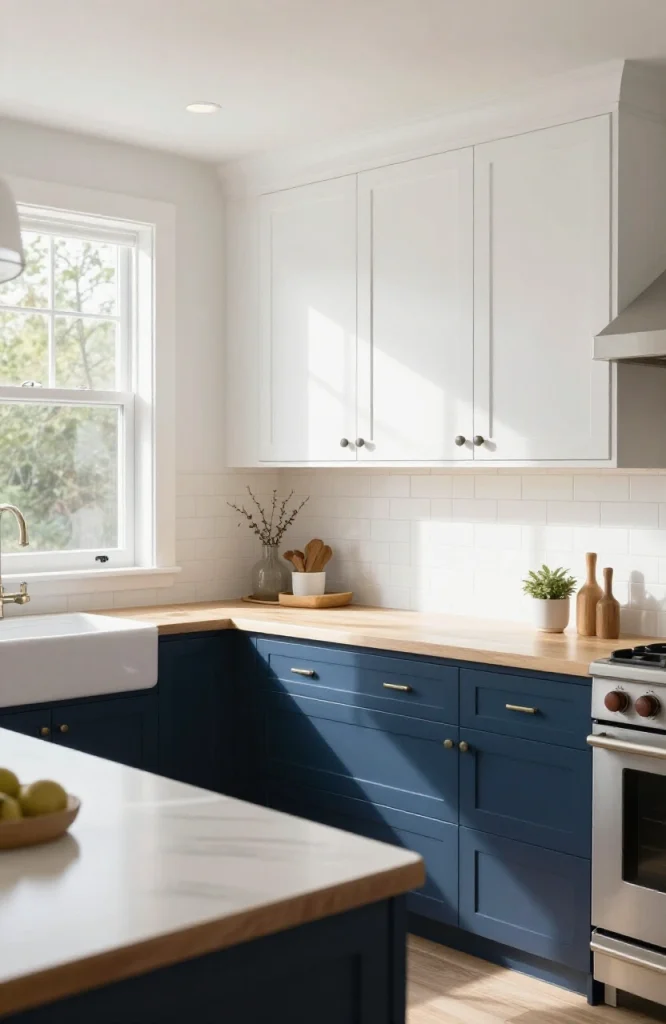
Painting only the lower cabinets or only the island in a contrasting color is one of the easiest ways to make a single-tone kitchen feel custom. Two-tone kitchens read as a real design choice rather than a tired room waiting for a remodel. Dark lower cabinets paired with lighter uppers also make a small kitchen feel taller, since the eye travels upward toward the lighter color.
4. Add Trim or Moulding to Flat Doors
Plain slab cabinet doors from the 1980s and 1990s can look closer to shaker or raised-panel style with a few strips of trim glued or nailed to the surface. Picture frame moulding kits are sold specifically for this purpose and come pre-cut to standard door sizes. Once painted, the added trim casts shadow lines that make a flat door look custom-built.
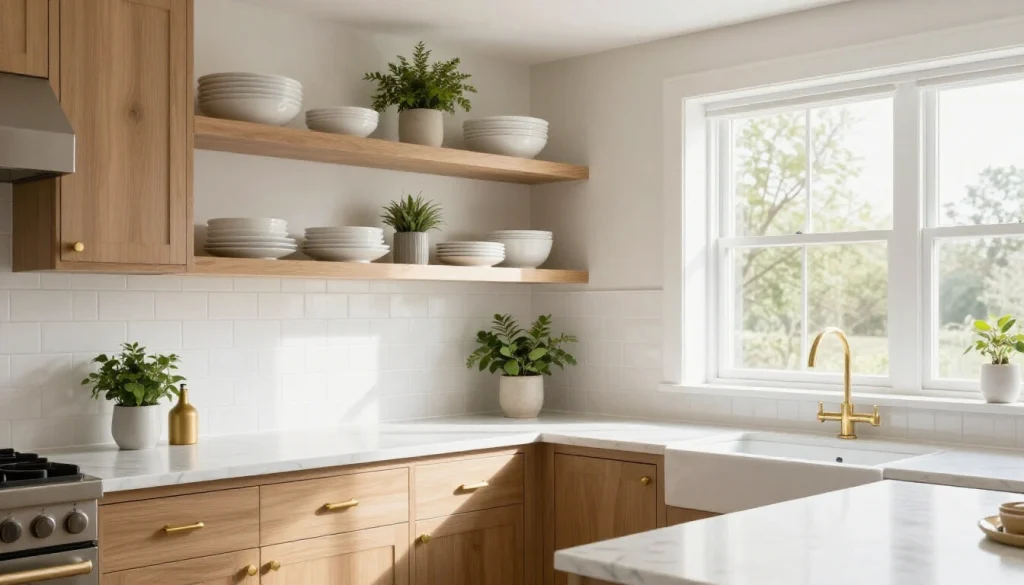
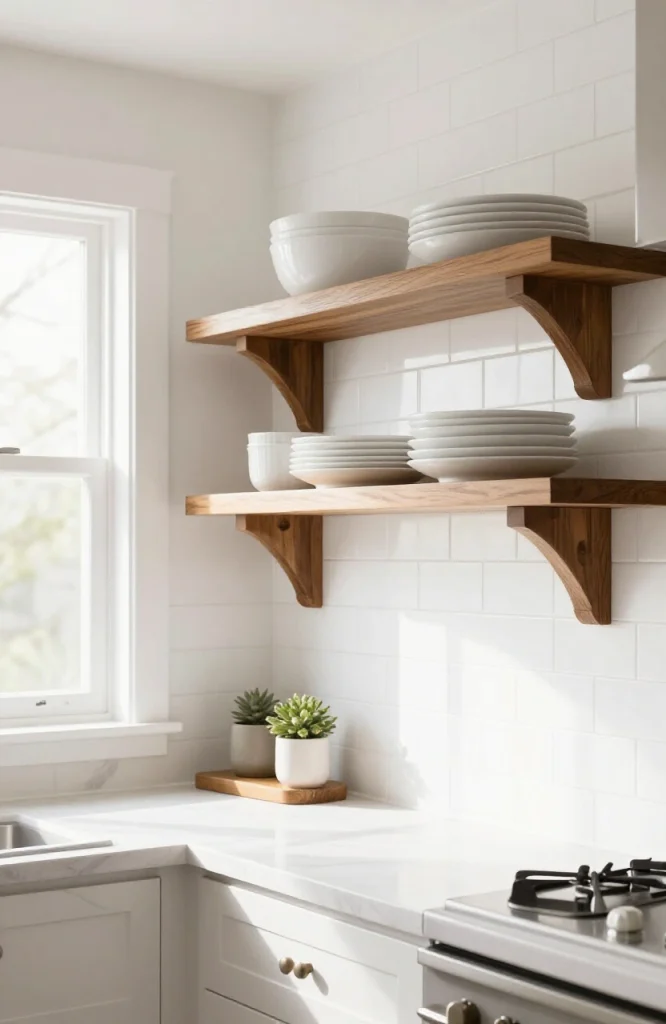
5. Remove a Few Doors for Open Shelving
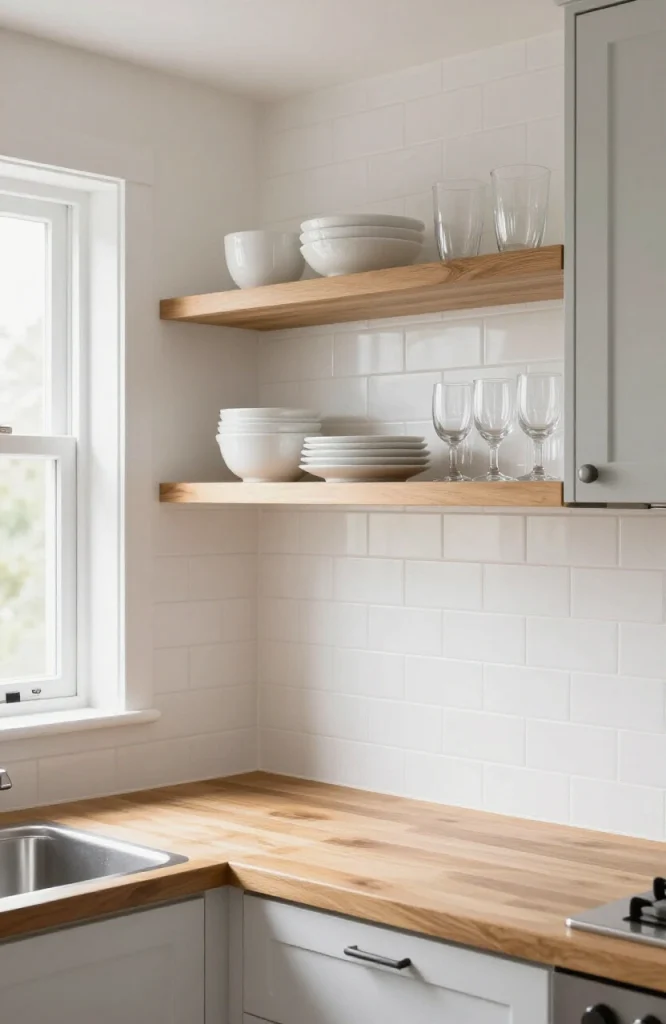
Taking the doors off one or two upper cabinets and leaving the shelves open is a low-cost way to break up a wall of identical doors. It also gives you a spot to display dishes, glassware, or cookbooks. If you want styling guidance for arranging items so the open shelf looks intentional instead of cluttered, our bookshelf ideas guide covers spacing, color grouping, and height variation that apply just as well to kitchen shelving.
6. Add Glass Inserts to Cabinet Doors
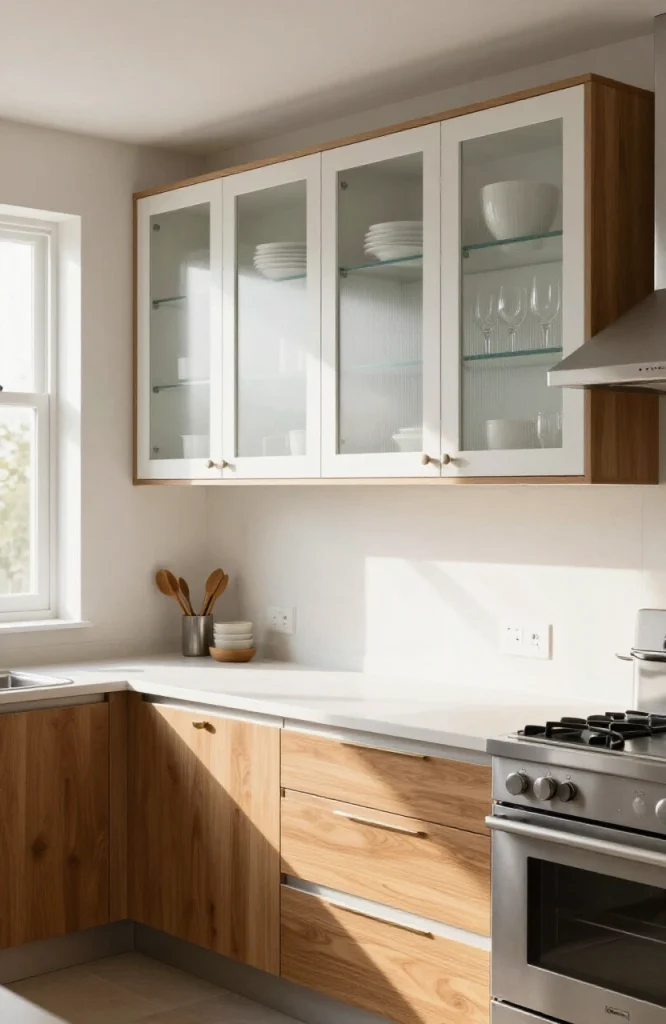
Swapping a few solid upper cabinet doors for glass-front versions lightens the look of a kitchen without touching the layout. Frosted or seeded glass works if you would rather hide clutter but still want the texture. Many cabinet supply shops can cut and ship replacement glass panels to fit your existing door frames.
7. Install a New Backsplash
A backsplash sits between the countertop and the upper cabinets, which makes it one of the few surfaces you can change without disturbing the cabinets at all. Subway tile, hexagon tile, and large-format slab tile are the most requested styles right now. If you want a smaller project, tiling just the section behind the stove gives a strong visual update for a fraction of the material cost of a full backsplash.
8. Use Peel-and-Stick Tile for a Rental-Friendly Backsplash

If you are renting or want a reversible update, peel-and-stick tile sheets mimic the look of ceramic or marble without grout or adhesive. They install in an afternoon and remove cleanly when you move out. This is one of the most common requests from renters who still want their kitchen to feel finished without making permanent changes.
9. Update the Countertop Edge Profile
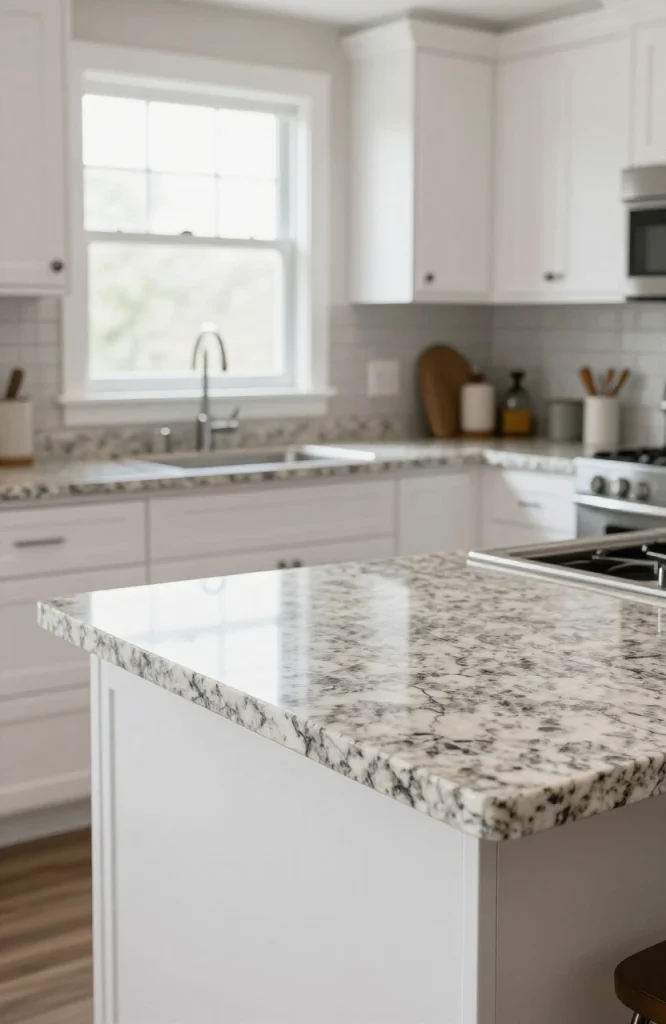
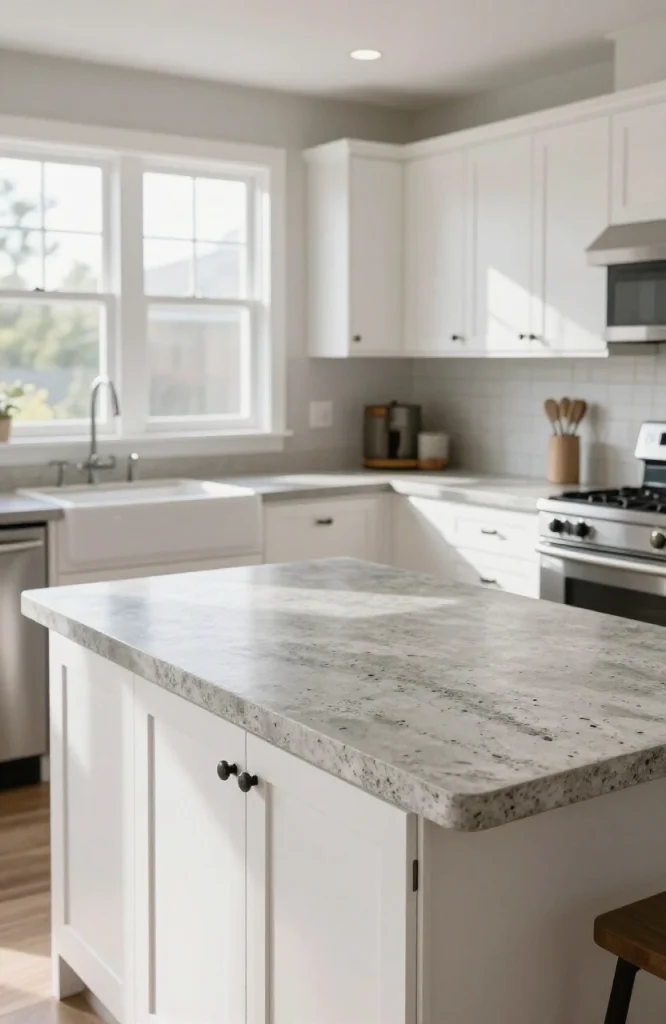
You do not always need new countertop material to change how a counter looks. Some fabricators can re-cut the front edge of an existing stone or solid-surface countertop into a different profile, such as a bullnose or ogee, for a fraction of full replacement cost. This works best on natural stone and solid surface, not laminate.
10. Resurface Laminate Countertops
Laminate countertops can be covered with a countertop refinishing kit or a thin layer of concrete overlay instead of being torn out. These kits include a base coat and topcoat that mimic granite or quartz at a much lower price point. Results vary by brand, so read reviews and test a small hidden section first.
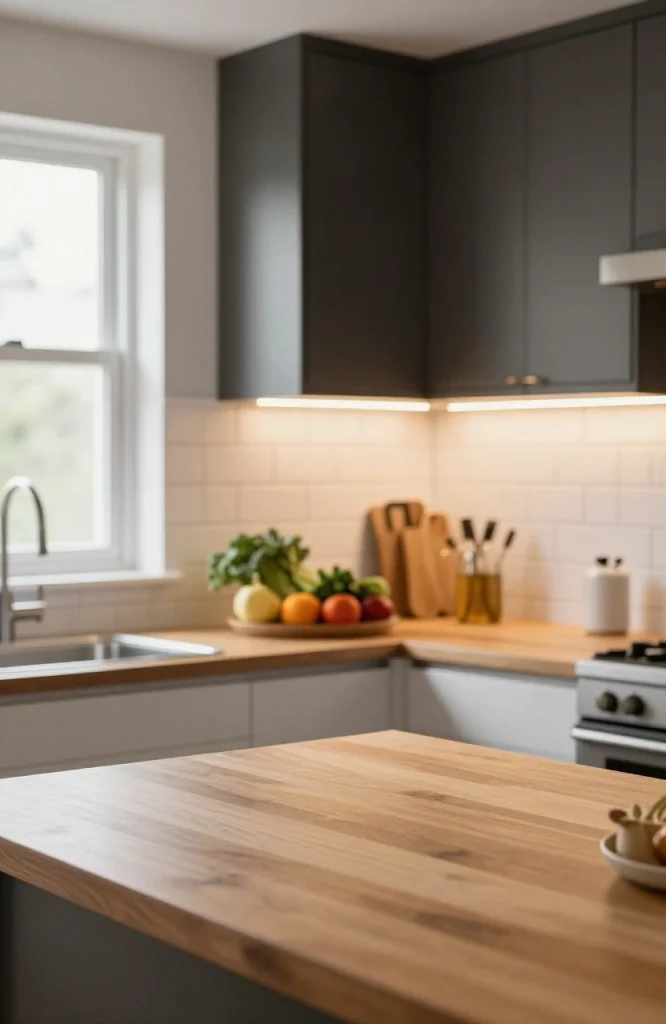
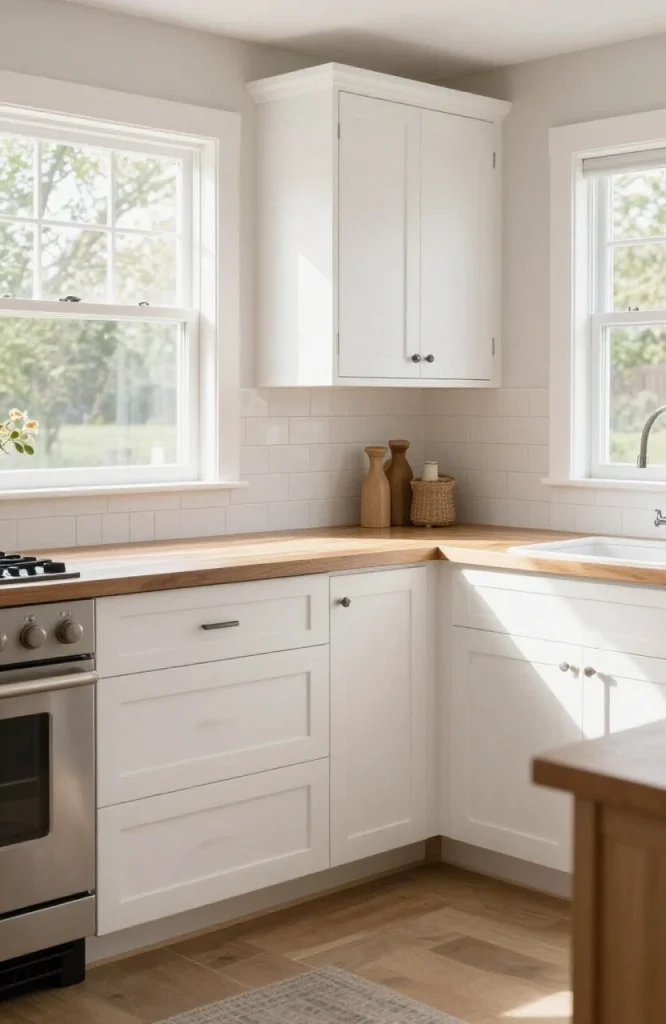
11. Add a Butcher Block Section
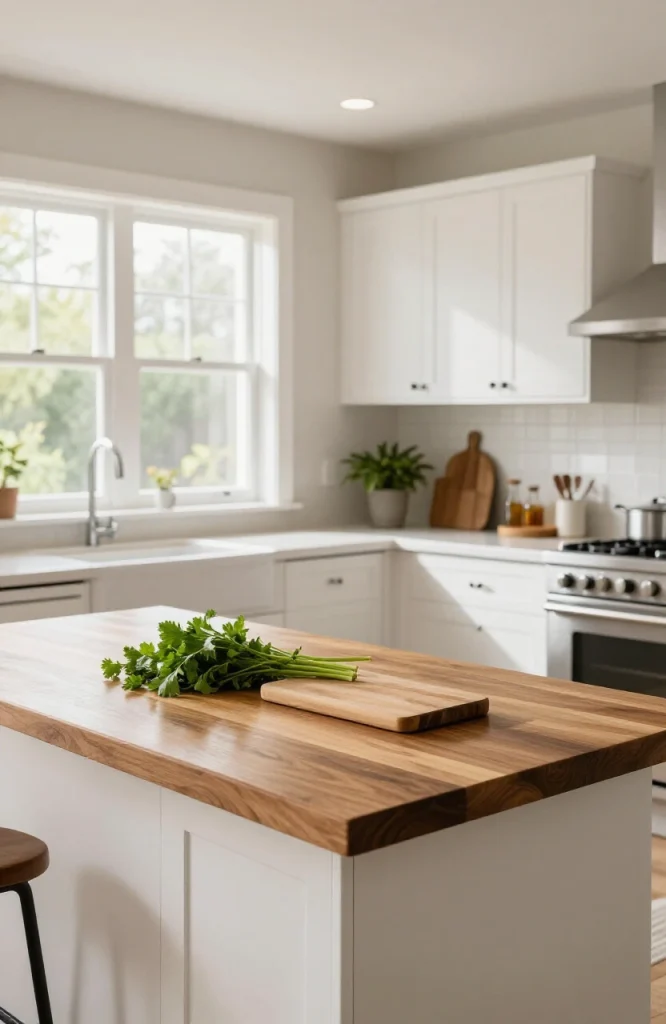
If only part of your counter needs an upgrade, such as a small prep area, butcher block boards can sit directly on top of existing laminate or tile. This adds a warm, natural surface for cutting and food prep without removing anything underneath. Many home cooks use this as a permanent island topper rather than a full counter replacement.
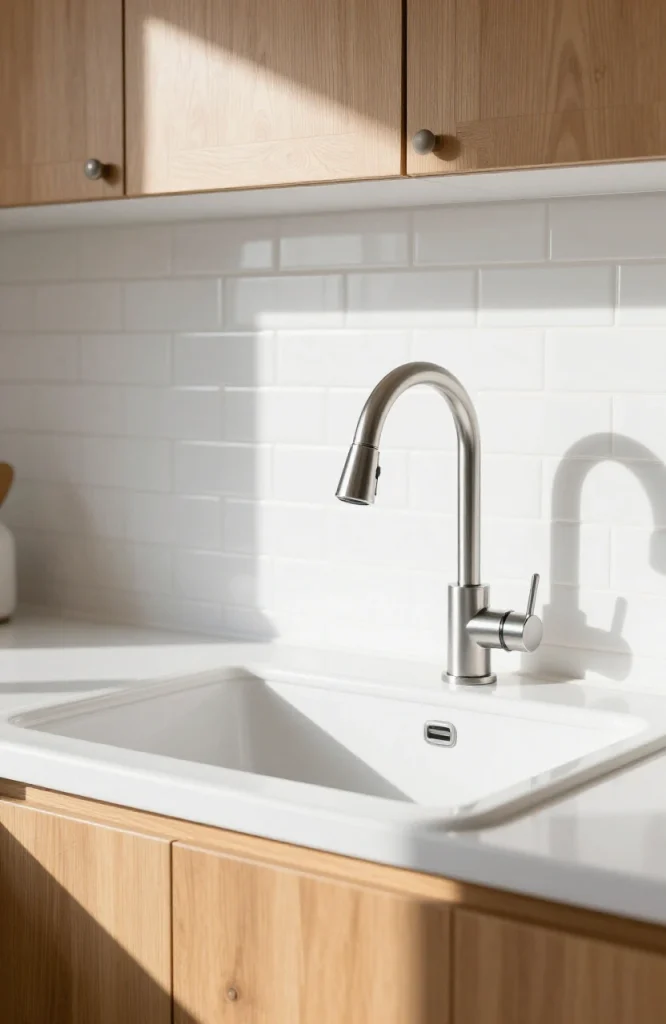
12. Replace the Faucet
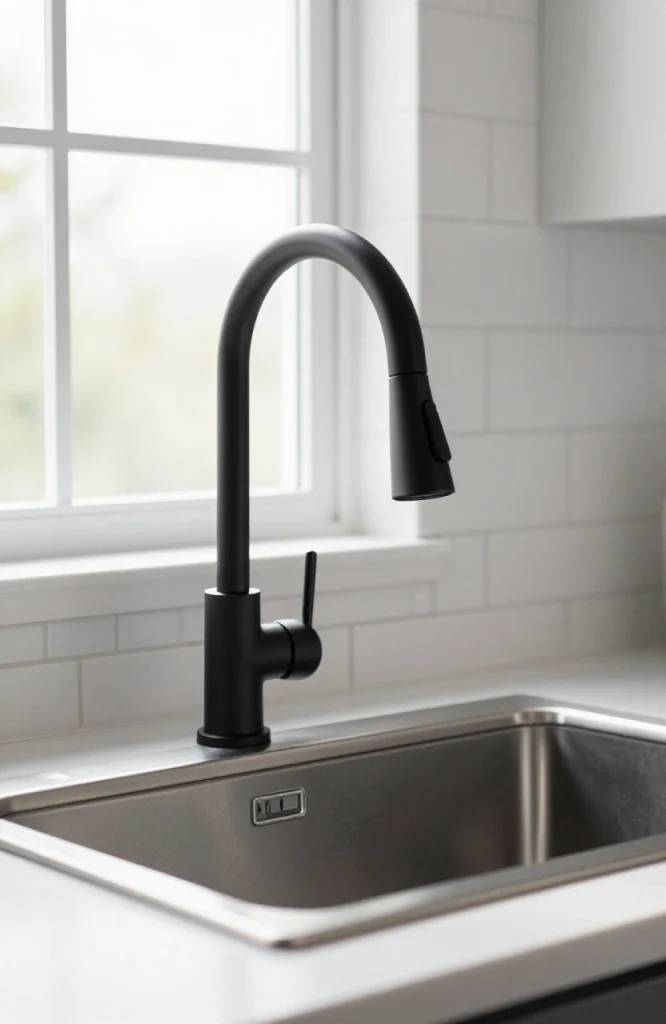
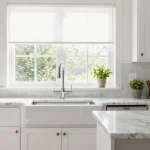
A new faucet changes the entire sink area in under an hour for most standard installations. Pull-down sprayers, matte black finishes, and touchless models are popular upgrades that pair well with almost any existing sink and countertop. Bring your old faucet’s connection size to the store, or measure it, so the new one fits without extra plumbing work.
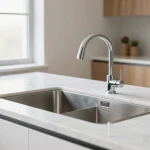
13. Upgrade the Sink Without Replacing the Counter
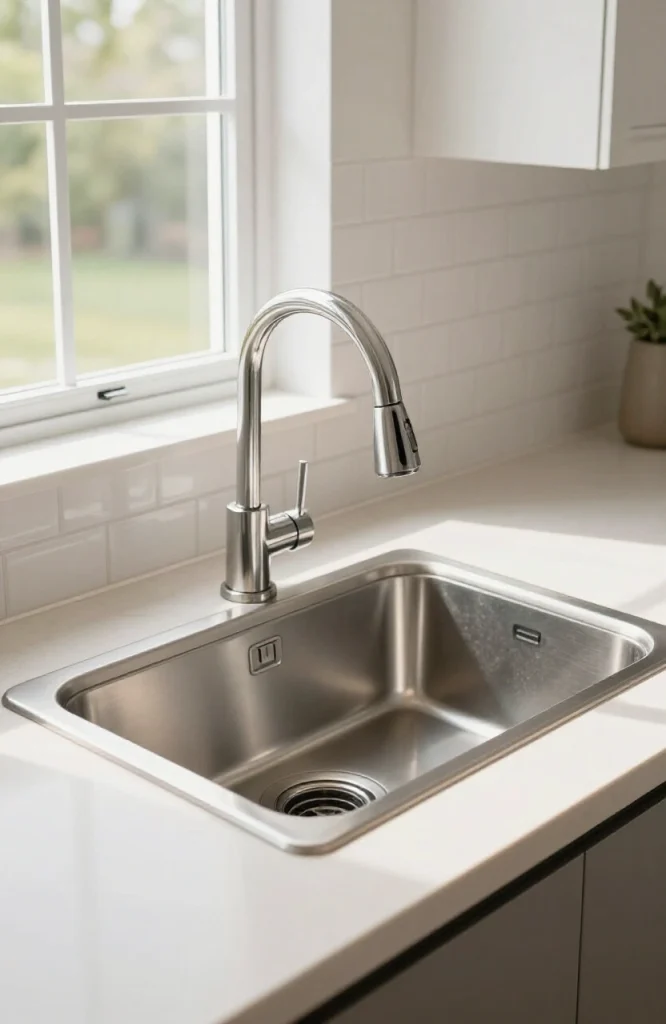
A drop-in sink can often be swapped for another drop-in of the same dimensions without touching the surrounding countertop. Moving from a double-basin to a single large basin, or switching to a stainless or composite granite finish, makes a noticeable difference at the one spot in the kitchen people touch the most.
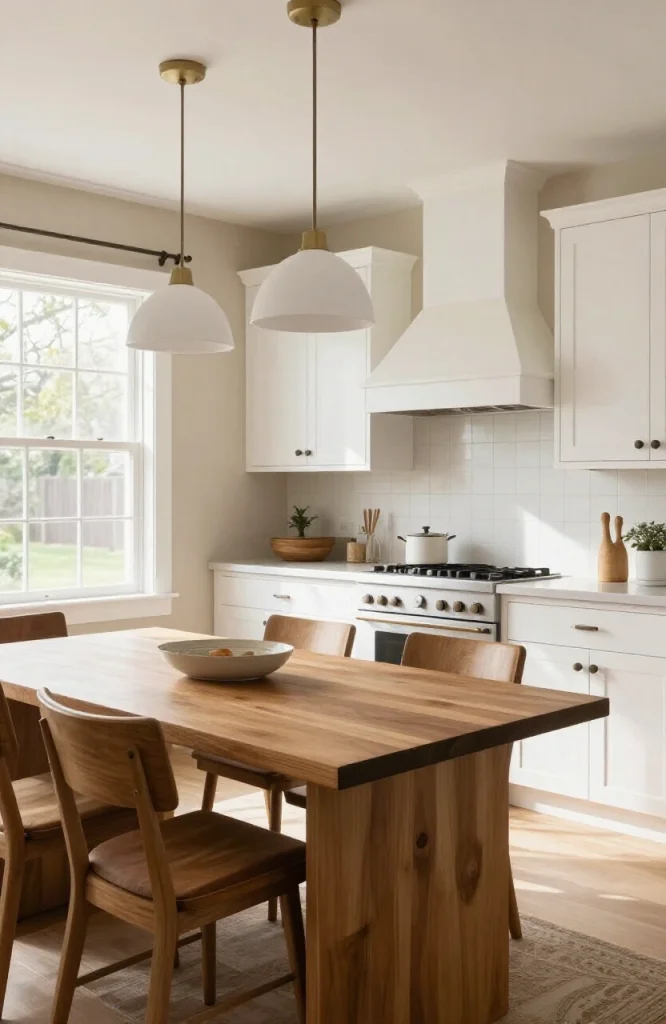
14. Switch Out the Light Fixtures
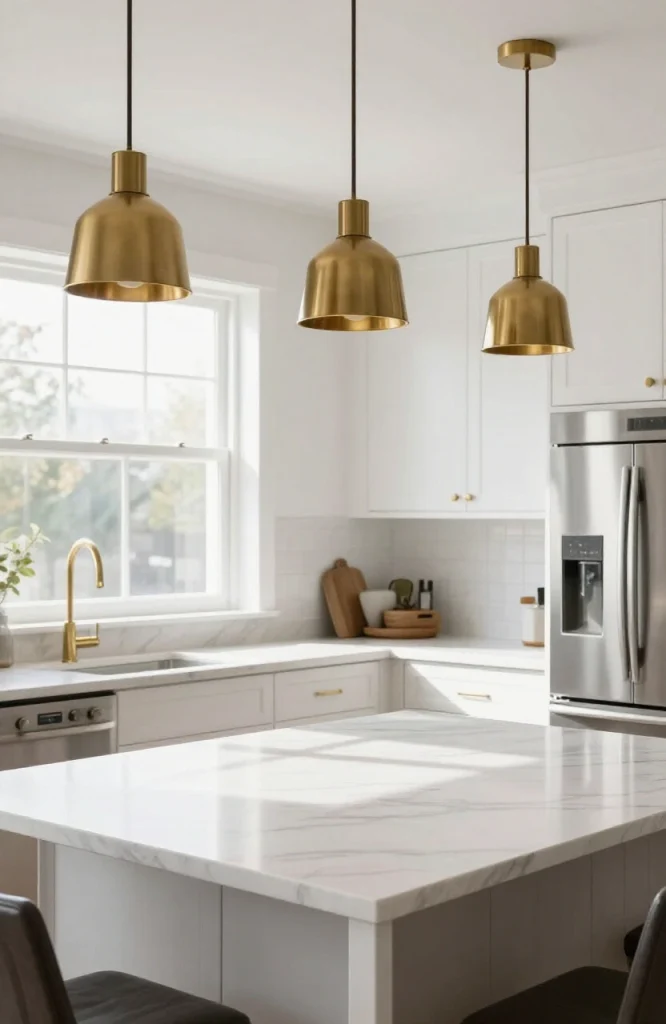
Old flush-mount ceiling lights or yellow-toned fixtures date a kitchen faster than almost anything else in the room. Replacing them with a modern flush mount, a linear fixture, or a few pendants over an island is a half-day project for most homeowners. Pay attention to the color temperature of the bulbs too, since a warm white bulb in a cool-toned kitchen can throw off the whole look.
15. Add Under-Cabinet Lighting
LED strip lights mounted under upper cabinets light up the counter for food prep and add a layer of ambient light in the evening. Many strips run on battery packs or plug into a nearby outlet, so no electrician is required for a basic installation. This is one of the highest-impact, lowest-cost upgrades on this entire list.
16. Add Lighting Inside Glass-Front Cabinets
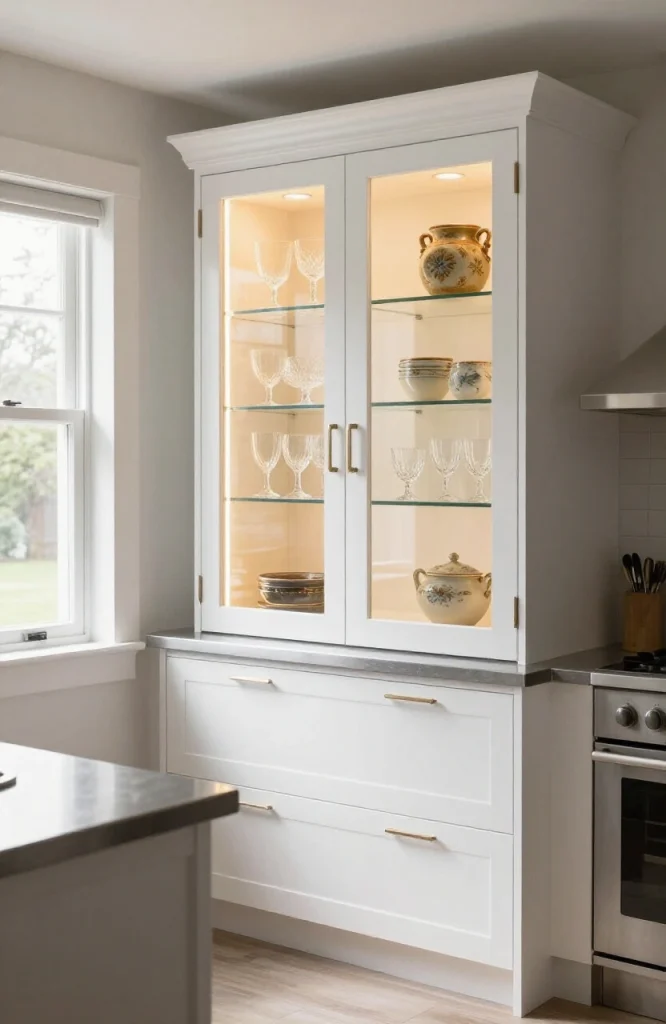
If you already have or plan to add glass cabinet doors, a small puck light inside the cabinet turns it into a display case at night. This works especially well for glassware, colored dishes, or collected pottery. The effect reads as custom millwork even though the install is a small battery-powered fixture.
17. Repaint the Walls
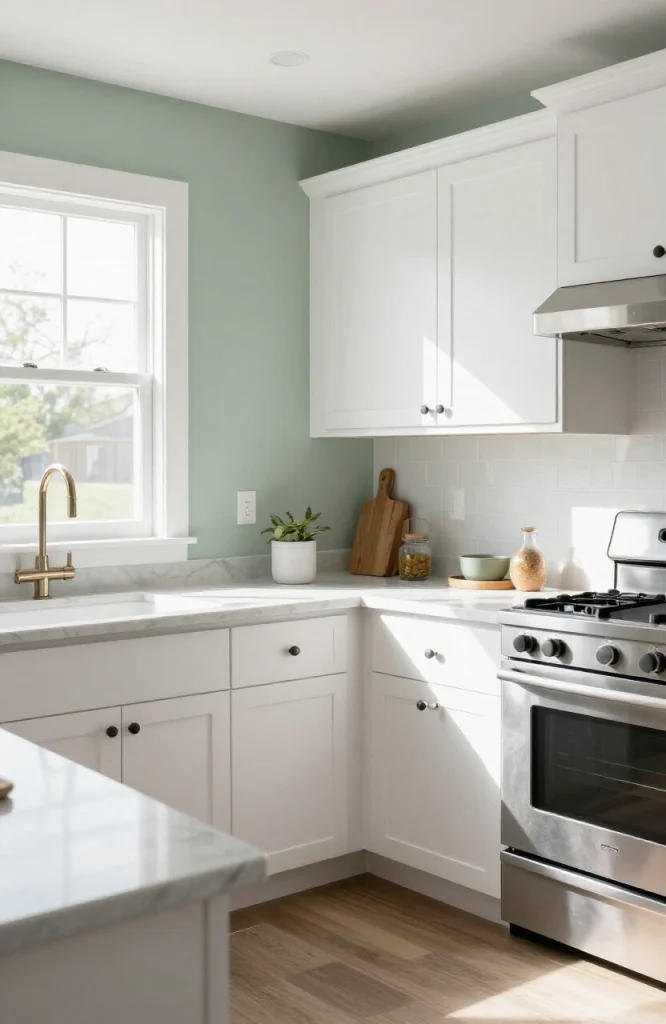
A fresh coat of paint on the walls alone can shift the entire feel of a kitchen, especially if the current color is yellowed, dated, or simply worn from years of cooking steam. Warm whites, soft greens, and clay tones are common choices right now because they pair well with both wood and painted cabinets.
18. Add a Bold Accent Wall
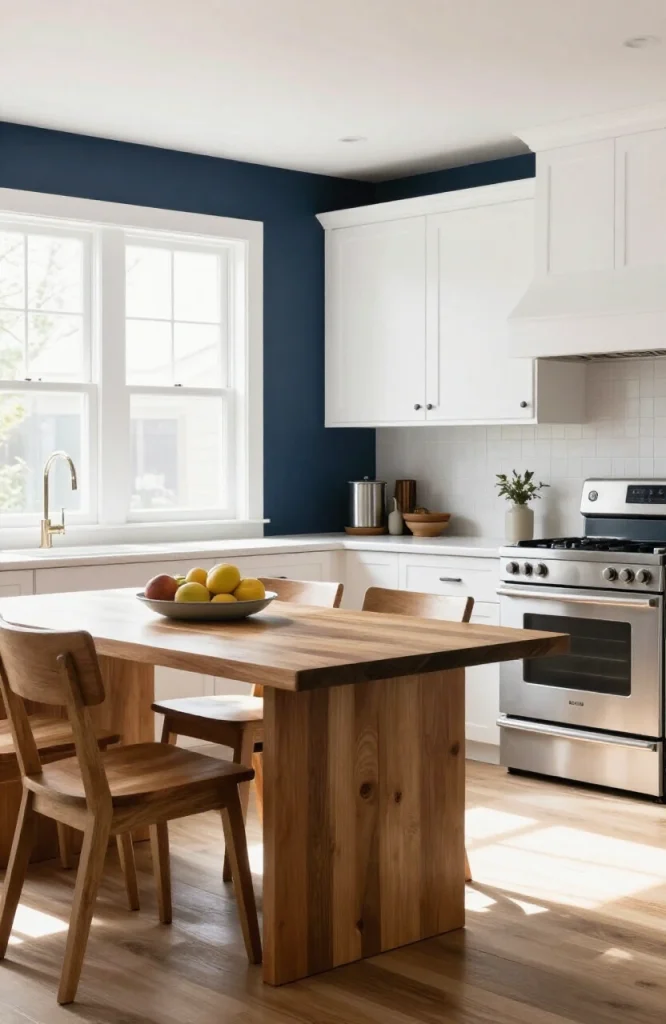
If a full repaint feels like too much, painting just one wall in a deeper color gives the kitchen a focal point without overwhelming the room. This works particularly well on a wall without upper cabinets, such as behind a breakfast nook or open shelving. For more no-paint options if you would rather skip rollers altogether, our guide to decorating walls without paint covers wallpaper, panels, and removable finishes that work in a kitchen too.
19. Add Removable Wallpaper
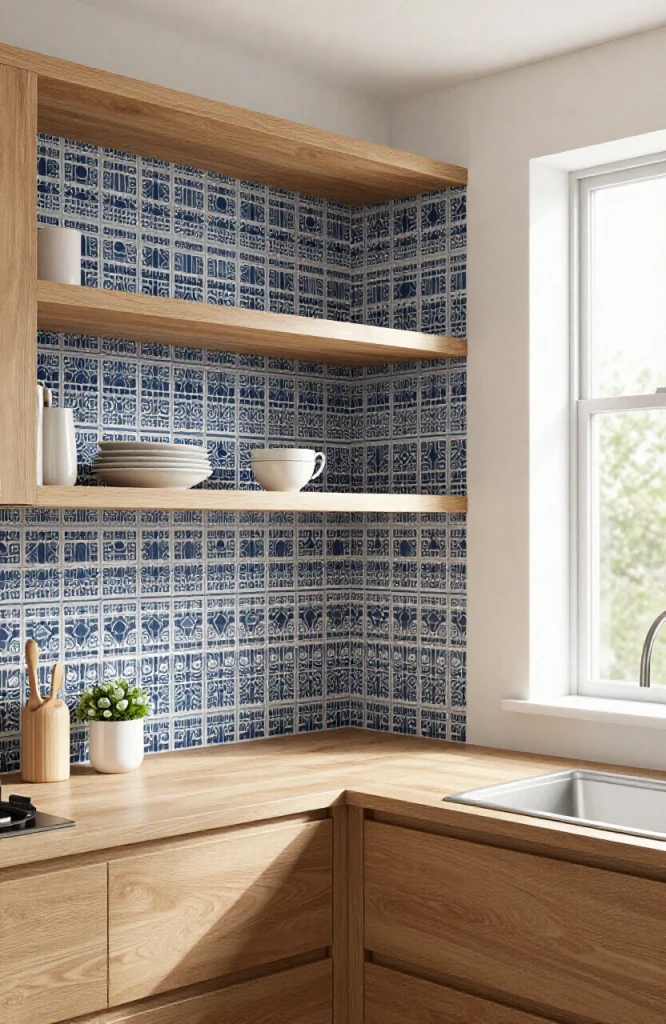
Peel-and-stick wallpaper on a single wall, the inside of open shelving, or even cabinet interiors adds pattern and color without a long-term commitment. It is especially useful in rental kitchens where painting is not allowed. Wipeable, vinyl-coated versions hold up best near cooking areas where grease and moisture are a factor.
20. Update the Trim and Baseboards
Old, scuffed baseboards and window trim pull focus away from everything else you have updated. New baseboards painted a crisp white, or simply a fresh coat on the existing ones, make the whole room look more finished. This is a weekend project that costs very little compared to its visual payoff.
21. Add Crown Moulding to the Ceiling Line
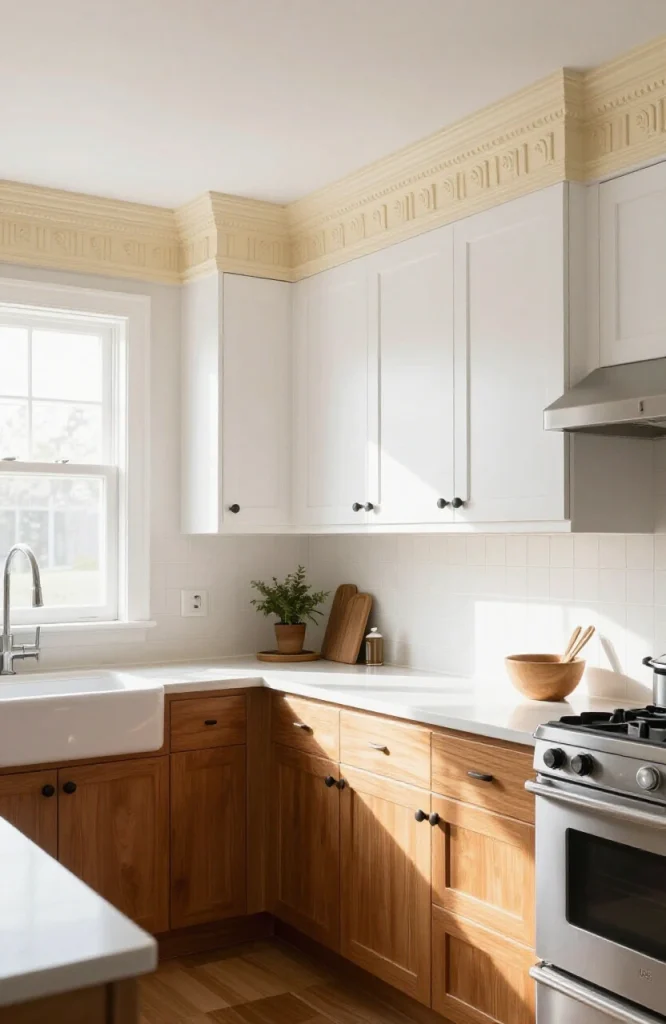
Crown moulding where the upper cabinets meet the ceiling closes the gap that often collects dust on top of older cabinets and gives the kitchen a built-in, custom look. It is a relatively simple carpentry project for anyone comfortable with a miter saw, and it works on almost any cabinet style.
22. Add Feet to Cabinets for a Furniture Look
Attaching decorative feet or a simple base trim to the bottom of existing cabinets makes built-in cabinetry look more like freestanding furniture. Bun feet, tapered legs, and metal hairpin legs each suit a different style, from traditional to mid-century. This is a smaller-scale project that mostly affects how the lower cabinets read visually.
23. Add Decorative Corbels or Brackets
Small wood or metal corbels under open shelves, a peninsula, or a countertop overhang add detail that reads as custom carpentry. They are inexpensive, widely available pre-finished, and install with screws in under an hour per bracket. This is a small addition that photographs well and adds texture to an otherwise plain space.
24. Replace the Range Hood
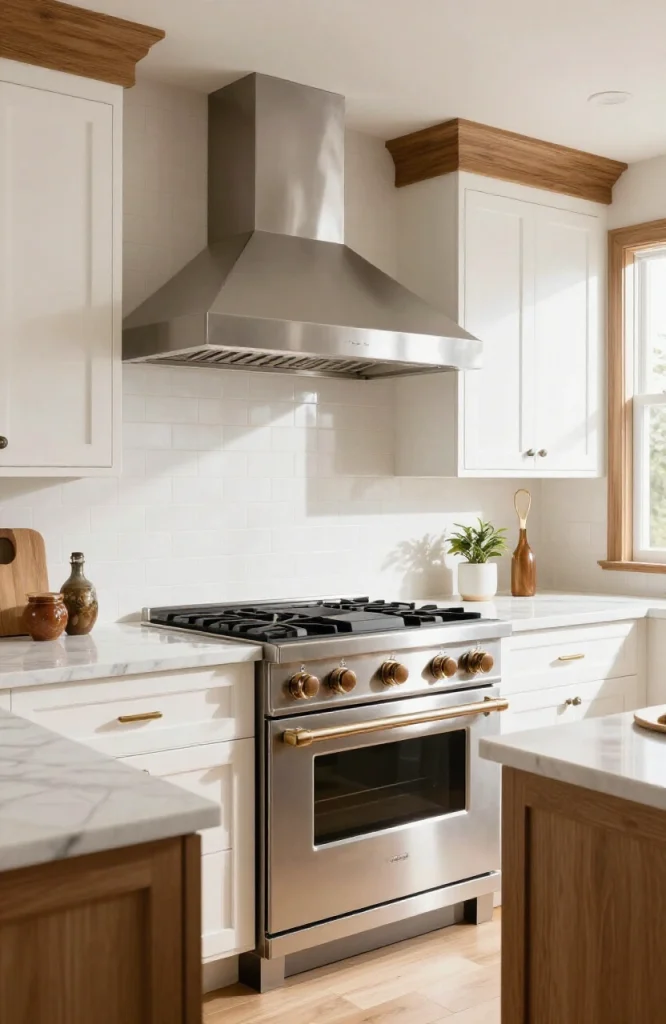
An outdated range hood is one of the most noticeable appliances in a kitchen because it usually sits at eye level above the stove. A new hood, whether a slim under-cabinet model or a statement chimney-style hood, changes the focal point of the entire cooking wall. Check your existing duct size and width before ordering a replacement to avoid extra ductwork.
25. Add a Hood Cover or Surround
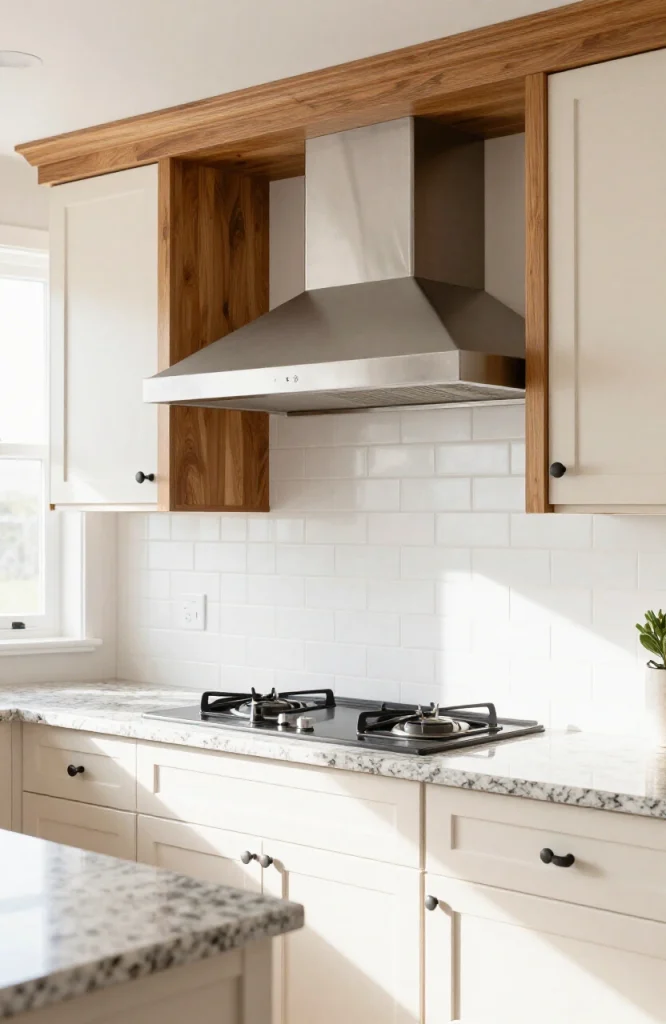
If a full hood replacement is not in the budget, a wood or tile surround built around an existing exhaust fan can disguise a builder-grade unit. This is a common trick in kitchen renovations where the budget goes toward cabinets and counters instead of mechanicals, and it works just as well as a standalone update.
26. Update Major Appliances in a Matching Finish
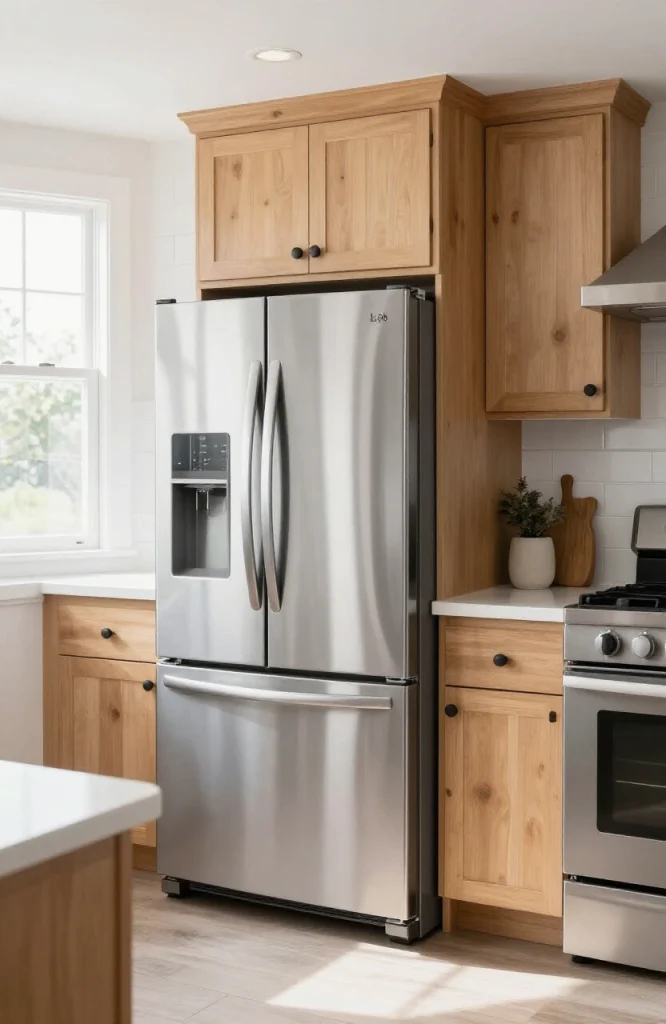
You do not need to replace every appliance at once. Updating just the refrigerator or range in a matching stainless, black stainless, or panel-ready finish ties the kitchen together even if the other appliances are a few years older. Panel-ready dishwashers and fridges can also be fitted with a custom front panel to match your existing cabinet color.
27. Add Small Appliance Upgrades
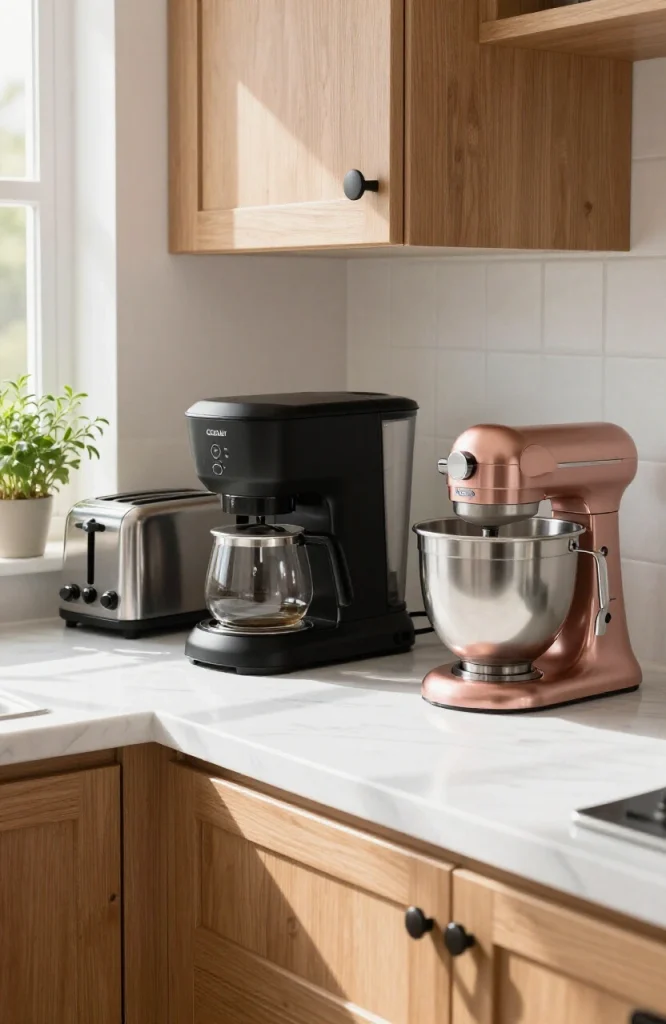
A new coffee maker, toaster, or stand mixer in a coordinated color or finish adds polish to open counter space without any installation at all. This is one of the cheapest updates on this list and one of the easiest to change again later if your style shifts.
28. Build a Coffee or Beverage Station
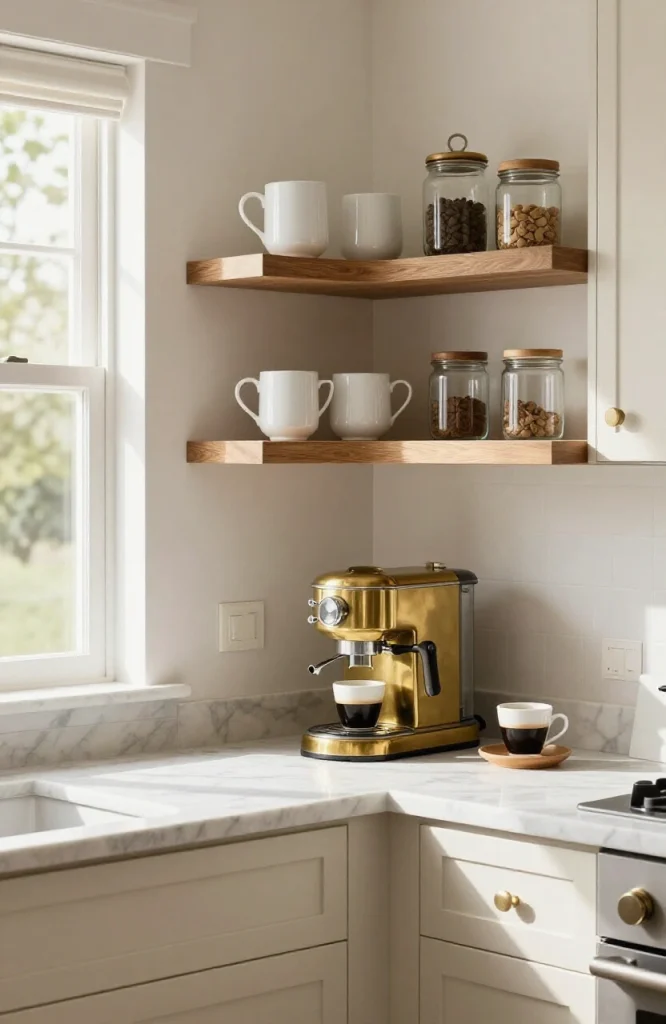
Dedicating a section of counter, a repurposed cart, or an empty corner to a coffee bar gives the kitchen a clear function and a styled vignette at the same time. Open shelving above the station for mugs and a small tray for syrups or filters keeps the area organized and gives your eye a place to land.
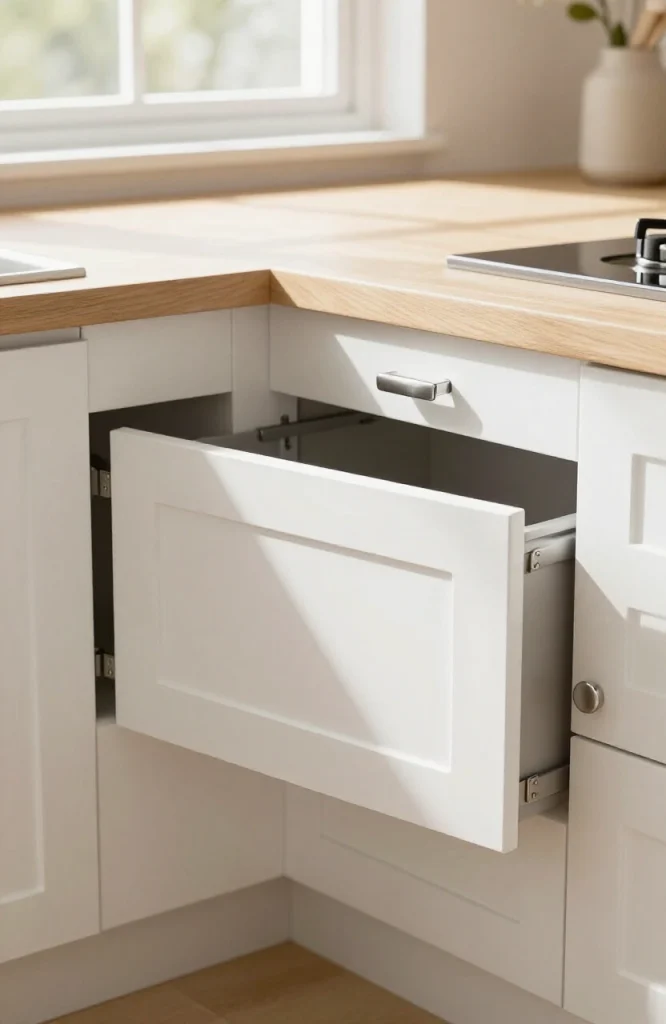
29. Add Pull-Out Drawers Inside Existing Cabinets
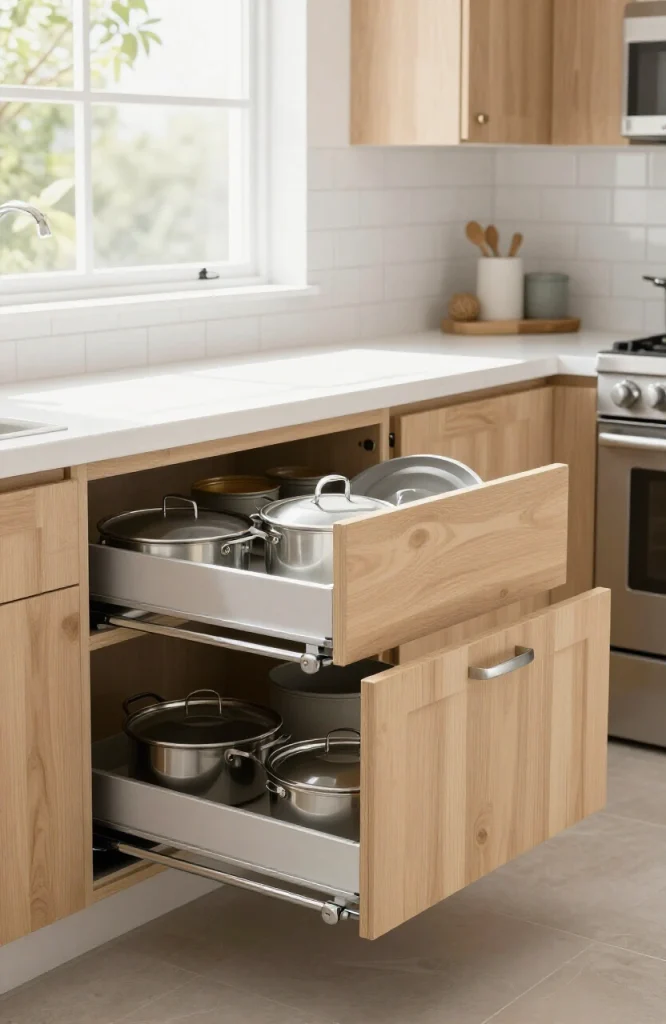
Retrofitting deep lower cabinets with pull-out drawer inserts solves the common problem of digging through a dark cabinet for a pot lid. Many home improvement stores sell pre-made inserts sized for standard cabinet widths, so no custom carpentry is required. This upgrade changes how the kitchen functions far more than it changes how it looks, but the daily improvement is significant.
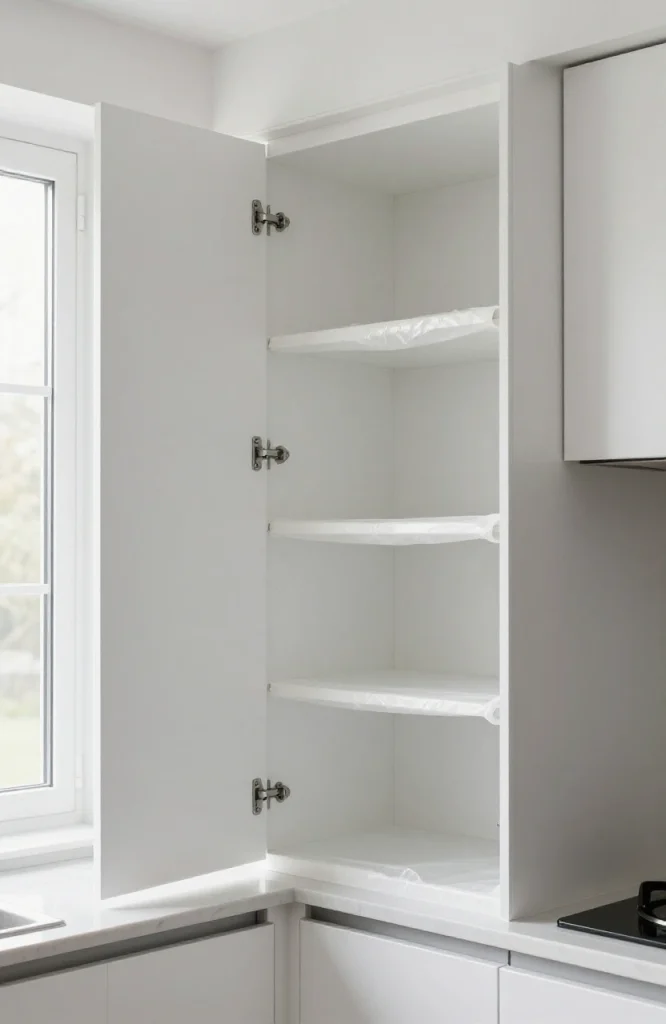
30. Add a Lazy Susan to Corner Cabinets
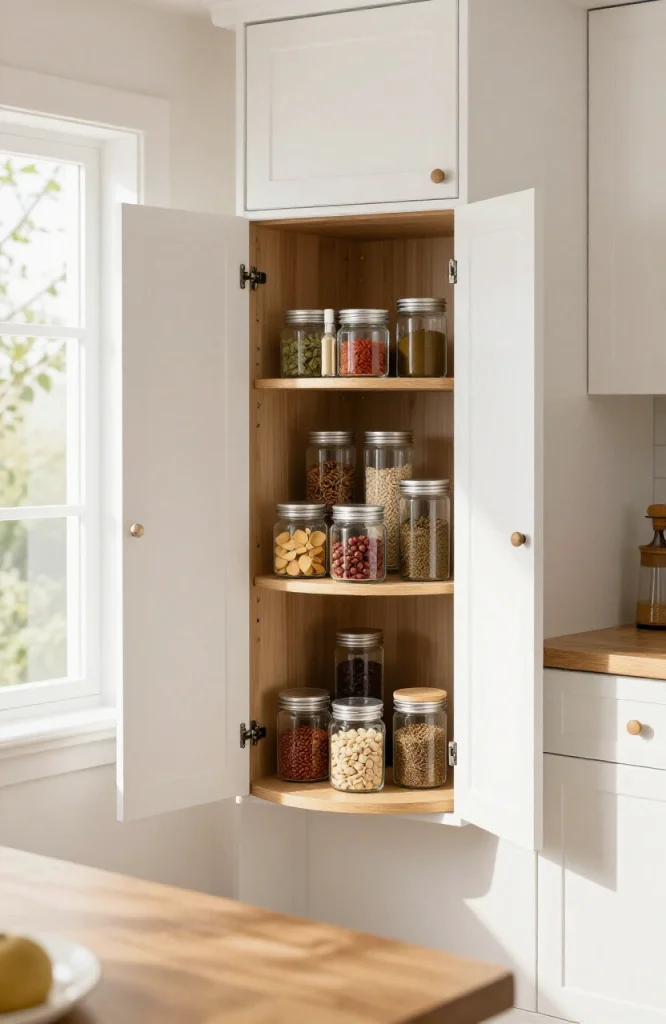
Corner cabinets are notoriously hard to use, and a rotating lazy Susan insert turns dead space into accessible storage. This is one of the simplest organizational upgrades and usually installs without removing the existing cabinet shelf.
31. Add Trash and Recycling Pull-Outs
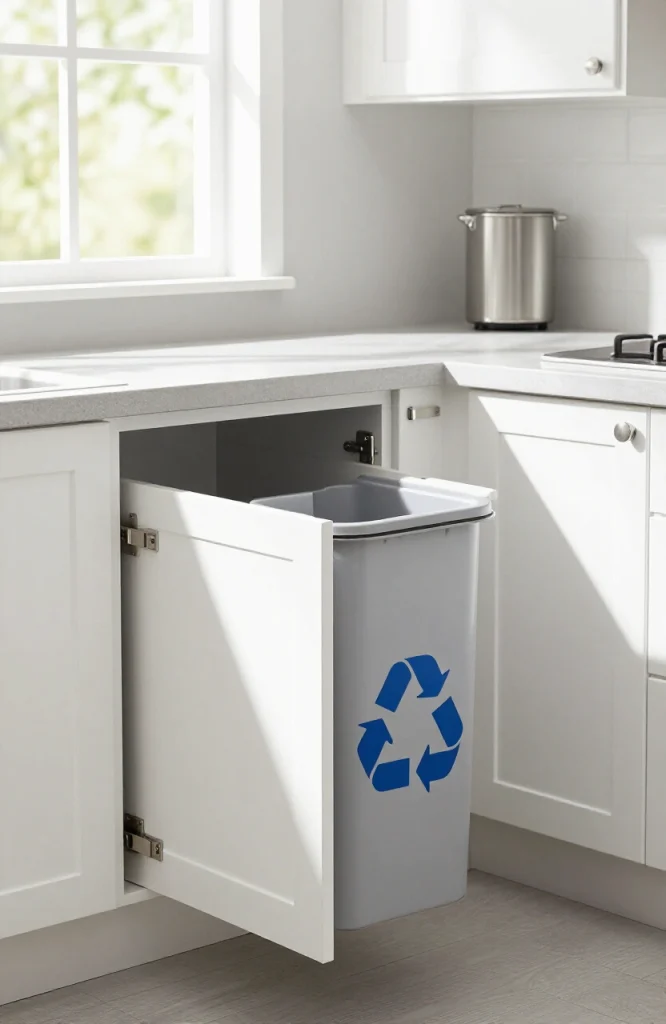
A dedicated pull-out bin behind a cabinet door keeps trash and recycling out of sight and off the counter. Pre-built units come in single, double, and triple bin configurations to fit narrow or wide cabinet openings. This is a small change that has a noticeable effect on how organized the kitchen feels day to day.
32. Add Door and Drawer Soft-Close Hinges
Replacing standard hinges with soft-close versions stops doors and drawers from slamming, which makes an older kitchen feel newer in a way that is more about how it sounds and feels than how it looks. Soft-close hinge kits are sold to fit most standard cabinet door sizes and install with a screwdriver.
33. Line Cabinet Interiors with Contact Paper
Worn, stained shelf liners inside cabinets are easy to overlook but add up to a tired-looking kitchen once you open a single door. Waterproof contact paper or drawer liner in a solid color or subtle pattern protects the wood and gives even the inside of your cabinets a finished look.
34. Replace Old Flooring
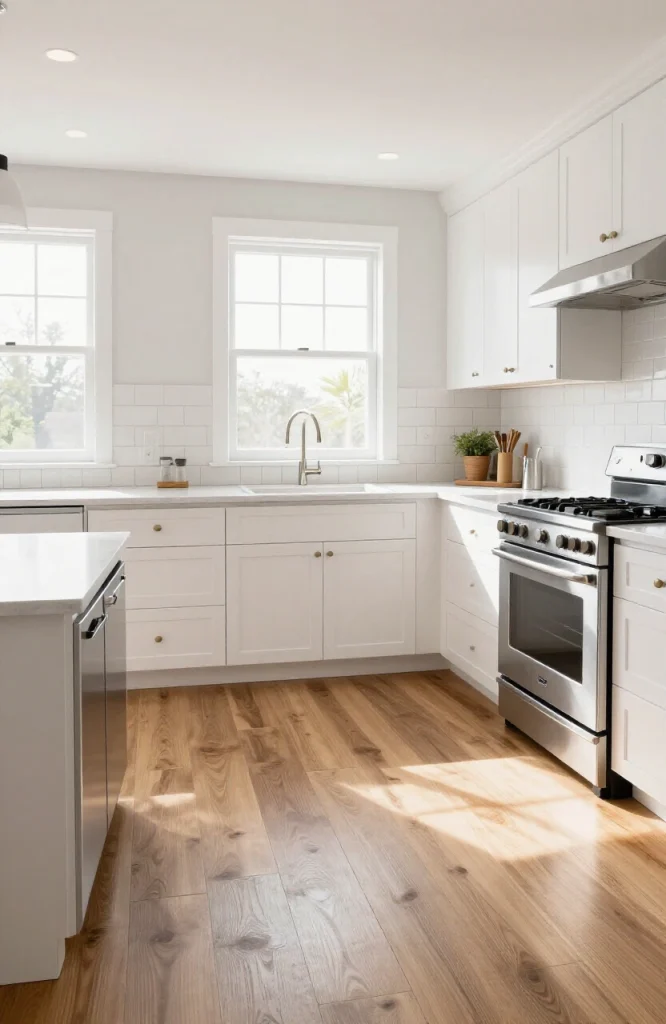
Flooring takes up more visual space in a kitchen than most people realize, and a worn or dated floor can undercut every other update on this list. Vinyl plank flooring installs over many existing subfloors without major demolition and holds up well to water and foot traffic in a kitchen setting.
35. Add a Statement Area Rug
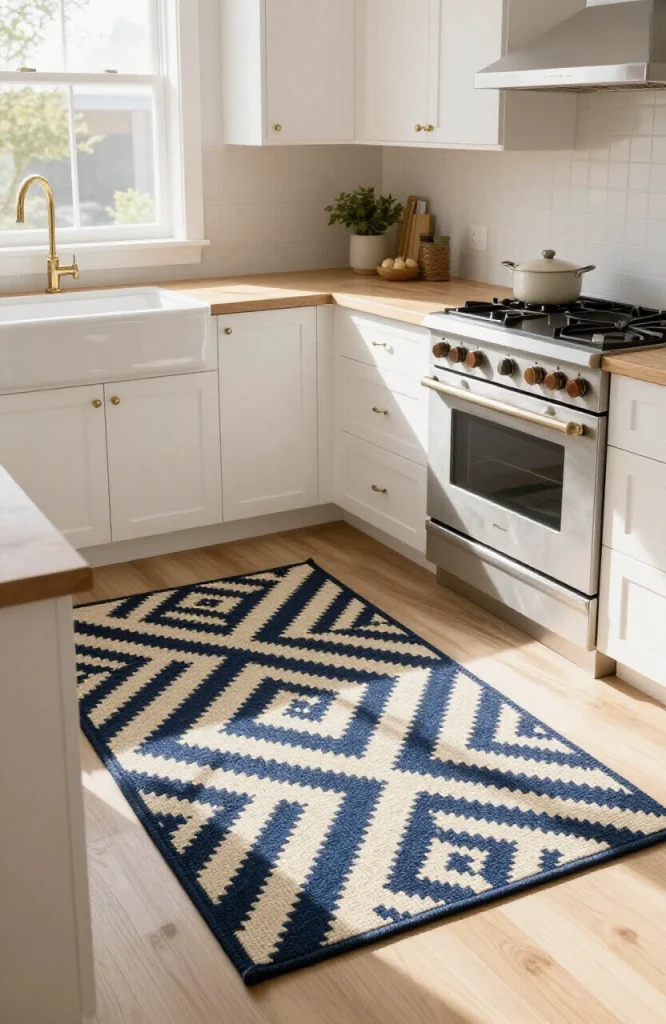
A washable kitchen rug in front of the sink or stove adds color, softens hard floors, and is one of the easiest changes to swap out again later if your style changes. Look for low-pile, flat-weave rugs that will not catch on cabinet doors or bar stools.
36. Update Window Treatments
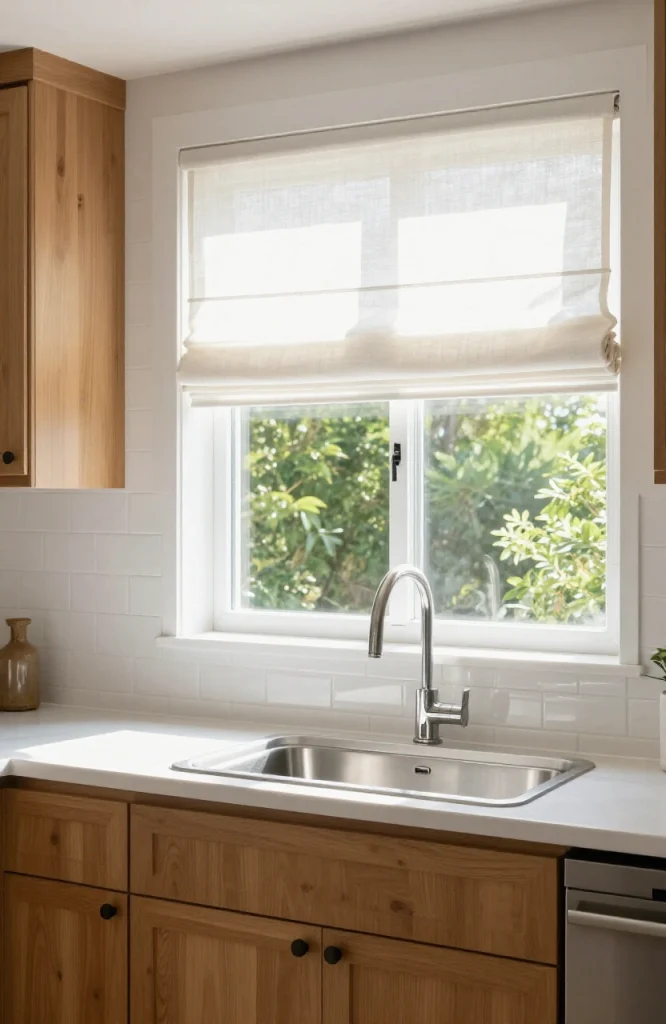
Old blinds or heavy curtains can make a kitchen feel closed in, especially over a sink window that should be letting in light. Simple roman shades, café curtains, or even a bare window with a clean frame are popular current choices. For a full breakdown of styles suited specifically to kitchen windows, our kitchen window treatment ideas guide walks through options for privacy, light control, and style by window type.
37. Replace Outlet Covers and Switch Plates
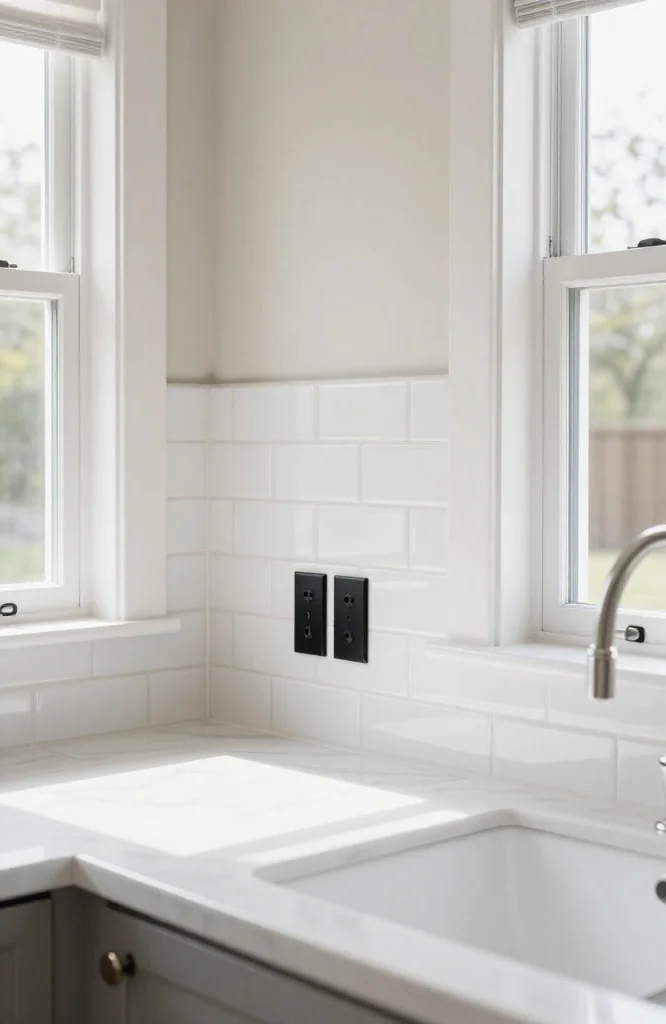
Yellowed or mismatched outlet covers are a small detail that quietly dates a kitchen. Swapping them for clean white or matte black covers that match your hardware finish takes minutes per outlet and costs only a few dollars total.
38. Add a Pegboard for Tool and Pan Storage

Mounting a pegboard on an open wall gives you flexible, visible storage for pots, pans, and utensils without adding more cabinetry. It is a common feature in working kitchens because the layout can be rearranged any time your storage needs change.
39. Mount a Pot Rack or Hanging Storage
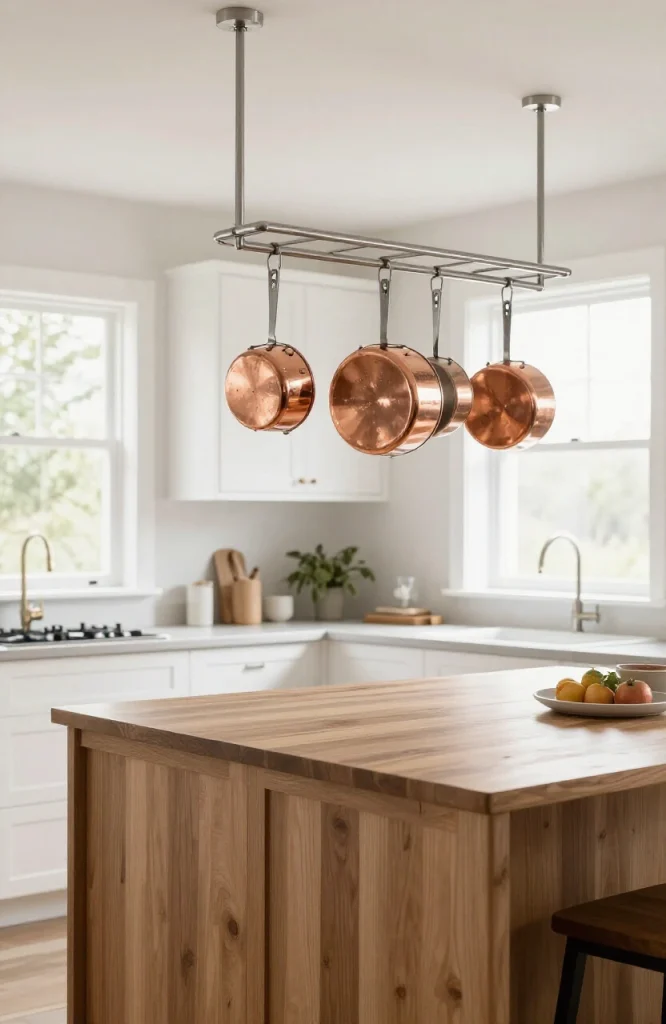
A hanging pot rack over an island or stove frees up cabinet space and turns cookware into part of the room’s decor. Ceiling-mounted and wall-mounted versions both work, depending on your kitchen’s layout and ceiling height.
40. Replace the Pantry Door
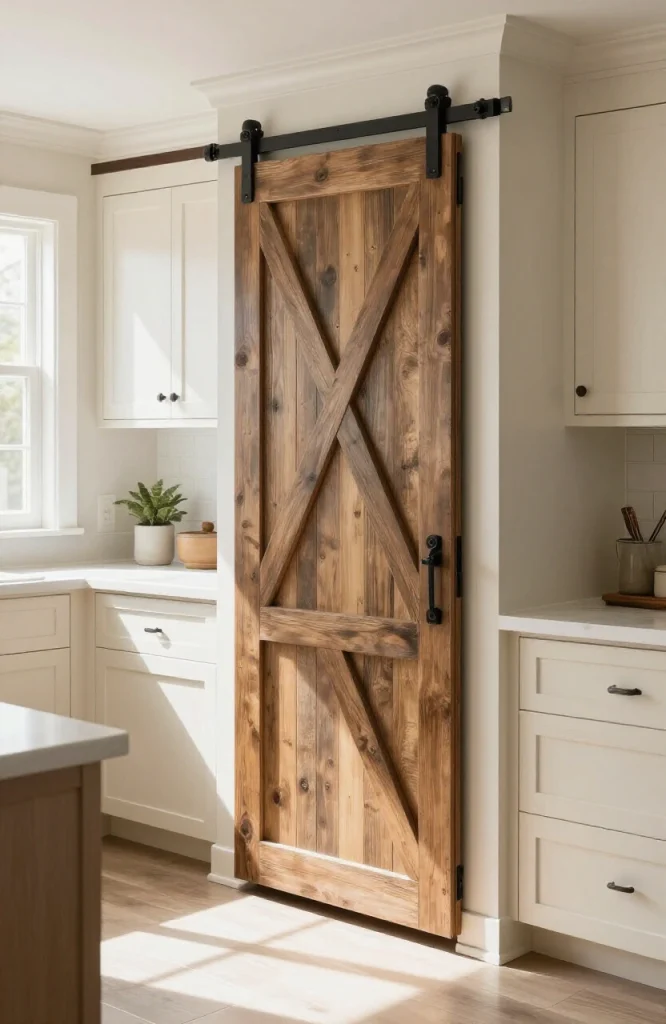
If your kitchen has a pantry, the door is an easy target for an update that has nothing to do with the cabinets themselves. A barn-style sliding door, a glass-paned door, or simply a new coat of paint on the existing door changes the feel of that whole corner of the room.
41. Update Cabinet Door Style with Veneer or Vinyl Wrap
Vinyl cabinet wraps and thin wood veneer sheets can be applied directly over existing cabinet doors to change their color or texture without removing them. This works best on flat-front cabinets and is a popular choice for renters or anyone who wants a wood-look finish over laminate.
42. Add a Tile Backsplash Behind the Stove Only
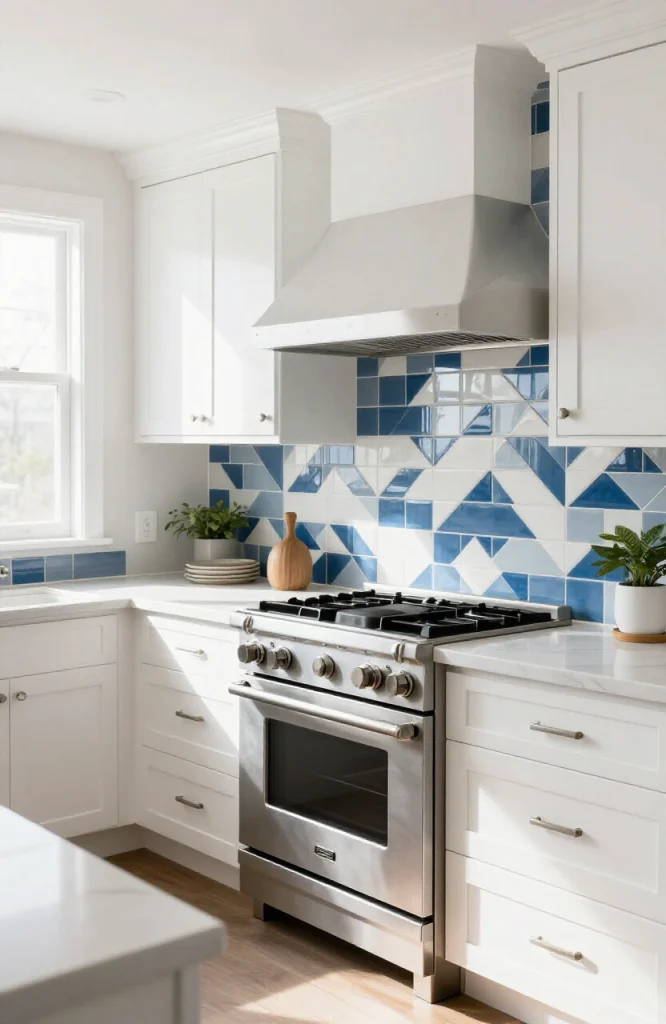
If a full backsplash is too large a project right now, tiling just the section directly behind the range gives you a focal point and protects the wall from grease splatter. This smaller scope keeps material costs and installation time down while still making a visible difference.
43. Style the Open Counter Space

Clearing counters of unused appliances and styling what remains with a tray, a small plant, and one or two functional objects makes a kitchen feel considerably more put together. This costs nothing beyond the time it takes to edit what is currently sitting out.
44. Add Greenery and Plants
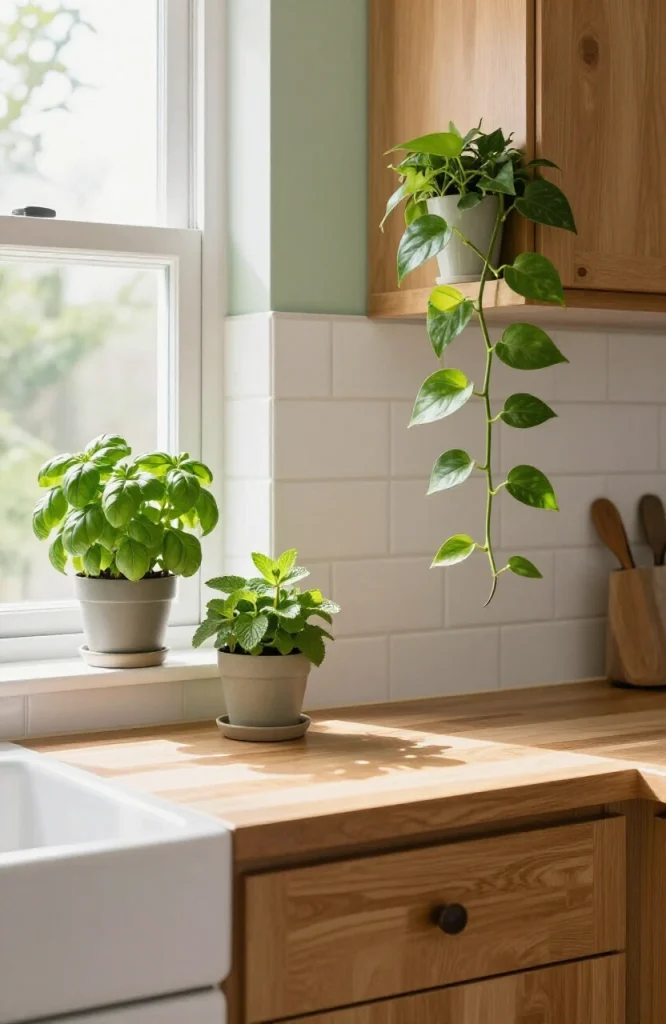
A few potted herbs on a windowsill or a trailing plant on top of cabinets bring life into a kitchen without any construction at all. Herbs like basil, thyme, and mint also serve a practical purpose if you cook often, giving the update both function and style.
45. Refresh the Kitchen Island Separately
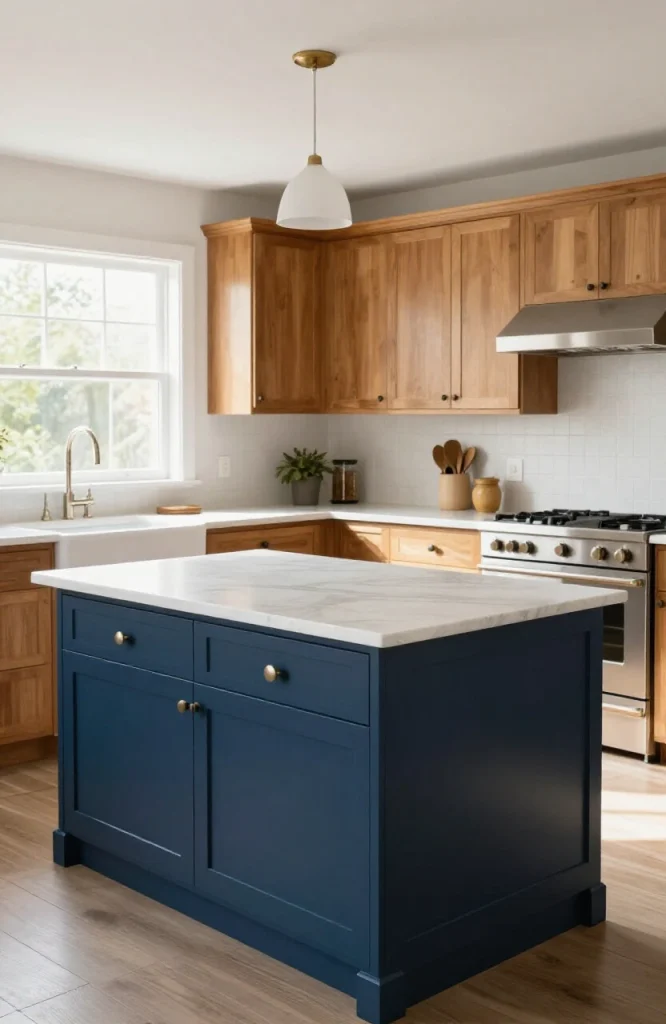
If your island is a separate piece of furniture rather than built-in cabinetry, painting or refinishing it alone gives you a strong visual change while leaving the rest of the kitchen untouched. A contrasting color on the island also draws the eye and acts as a natural centerpiece for the room.
46. Bring In New Bar Stools
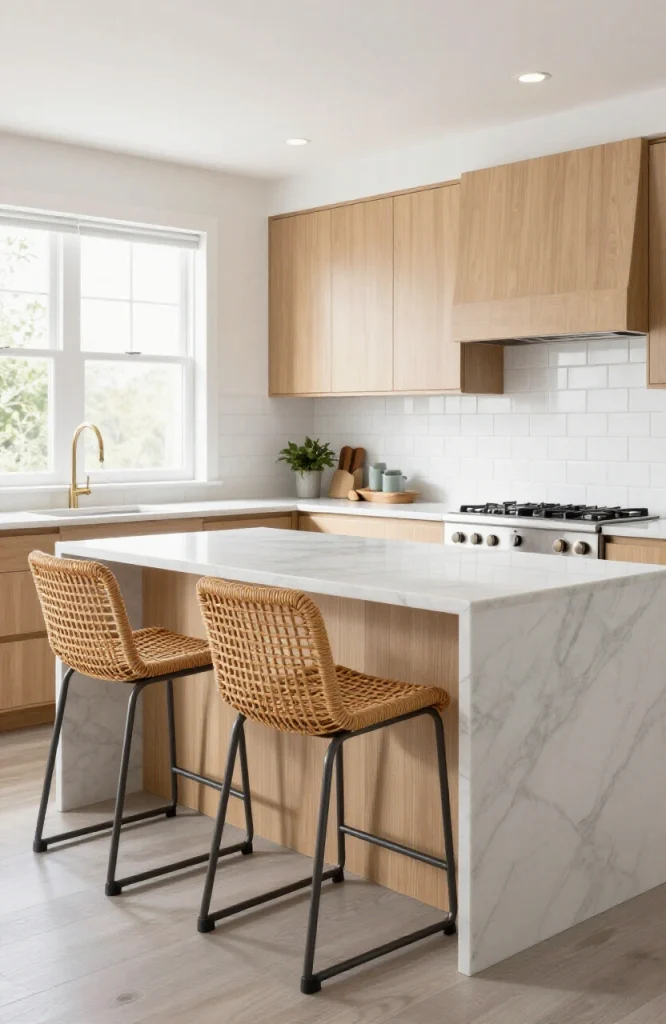
Worn or mismatched bar stools at an island or peninsula are one of the most visible seating choices in the kitchen. New stools in a current finish, whether wood, woven, or metal, update the look of the seating area instantly and are simple to swap again later.
47. Replace Old Caulk and Grout
Yellowed caulk around the sink or grimy grout lines in an existing backsplash are easy to miss day to day but obvious once you notice them. Re-caulking the sink and re-grouting tile, or applying a grout refresh product over the old grout, restores a clean look without any tile removal.
48. Add a Tile or Wood Surround to the Window Sill
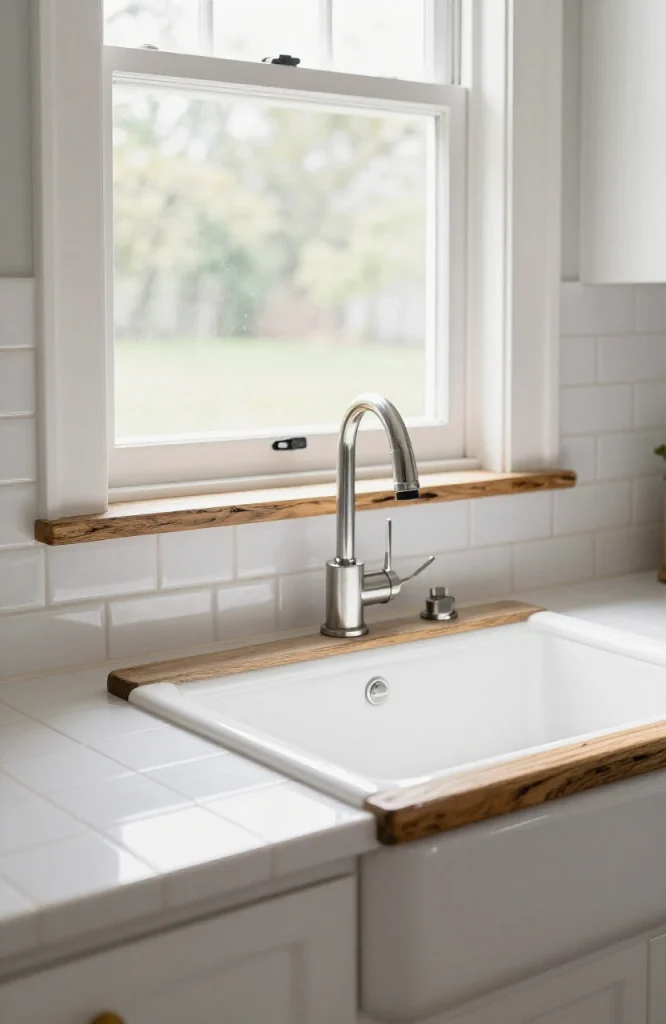
A worn windowsill above the sink can be capped with a thin layer of tile or a stained wood board for a quick refresh. This small detail sits right at eye level for anyone standing at the sink, so the visual return is higher than the size of the project suggests.
49. Connect the Kitchen to an Open Living Area
If your kitchen opens into a living or dining space, small updates that tie the color palette and lighting together make both rooms feel more cohesive, even without touching a single cabinet. Our guide to decorating an open floor plan covers how to use rugs, paint, and furniture placement to define the kitchen zone while keeping the whole space connected.
50. Add Smart Outlets or USB Charging Ports
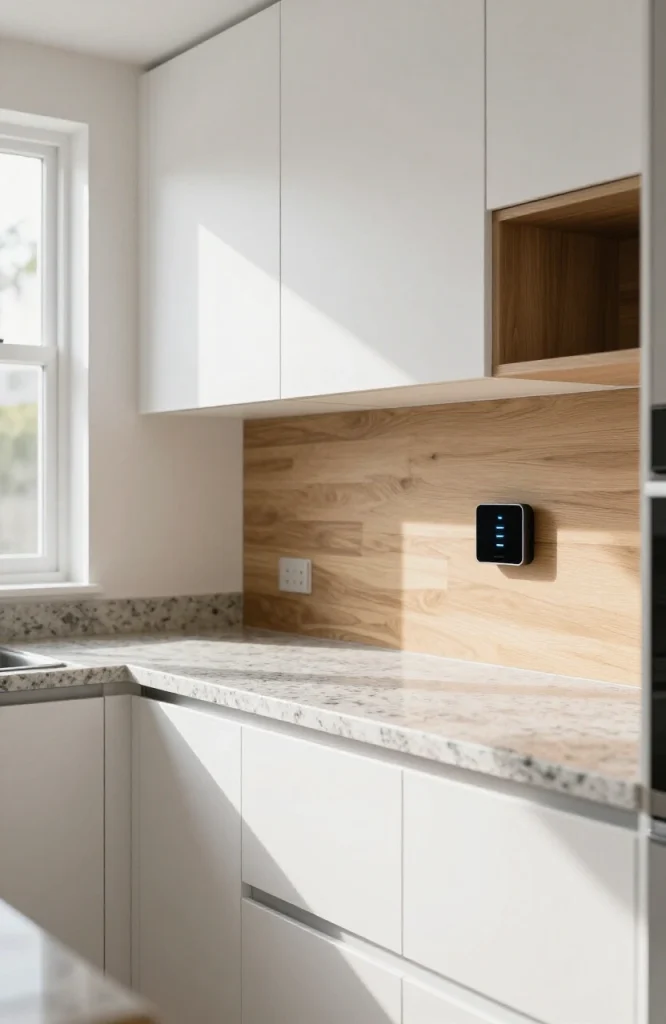
Swapping a standard outlet for one with built-in USB ports, or adding a smart plug for under-cabinet lighting, is a small functional upgrade that makes daily use of the kitchen easier. It is a minor electrical update most licensed electricians can complete in under an hour per outlet.
Quick Comparison: Cost, Time, and Impact
| Update | Typical Cost | Time Needed | Visual Impact |
|---|---|---|---|
| New cabinet hardware | $20 to $150 | 1 to 3 hours | High |
| Paint cabinet doors | $100 to $300 | 1 to 2 weekends | Very high |
| New backsplash (small section) | $150 to $500 | 1 weekend | High |
| Under-cabinet lighting | $30 to $150 | 1 afternoon | Medium to high |
| Peel-and-stick backsplash | $50 to $150 | 1 afternoon | Medium |
| New light fixtures | $80 to $400 | Half a day | High |
| New faucet | $80 to $300 | 1 to 2 hours | Medium |
| Vinyl plank flooring | $400 to $1,500 | 1 to 2 weekends | Very high |
| New bar stools | $100 to $600 | None (delivery only) | Medium |
As one kitchen designer I worked alongside put it during a recent project, “the cabinets are rarely the problem, the details around them usually are.” That single idea is behind most of the suggestions above. Hardware, paint, lighting, and a handful of small carpentry touches do more to change how a kitchen feels than most homeowners expect.
Conclusion
Updating a kitchen without replacing cabinets comes down to picking a handful of changes that match your budget, your timeline, and how long you plan to stay in the space. A renter might lean toward peel-and-stick tile, removable wallpaper, and new hardware, while a homeowner planning to stay put for years might tackle cabinet painting, a real backsplash, and new flooring. Start with the lowest-cost, lowest-effort items on this list, hardware, lighting, and paint, and build from there based on what makes the biggest difference in your specific kitchen. None of these 50 updates require touching the cabinet boxes themselves, which means you keep the cost, the mess, and the timeline far smaller than a full renovation while still getting a kitchen that feels new again.